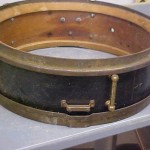
I live in an area that has a lot of local breweries, and people around here talk and write about beer a lot. So recently, when I saw an article about the blurring of lines as to what’s considered a “craft brewery” and what isn’t, I realized that there’s a connection between drums and beer that I hadn’t considered: confusion about industry categories and how to describe them.
Read moreJuly 2014 - Red Headed Step Children
But what about all the vintage and rare drums that have been modified with extra holes, unoriginal parts etc.? What about those red headed bastard stepchildren?
It is my theory that they will become more and more desirable as the herd is thinned over the coming decades. What made me realize this was one particular seller at the Chicago Drum Show who asked me if there were going to be a lot of “hipsters” at my Nashville Drum Show. He said that in Austin, where there are hundreds and hundreds of working drummers in that busy music scene, they are buying “player" vintage kits and snares, not the collector level drums. They are buying them for the sound, not the collectability. It made me realize just how much the vintage drum world has grown and how the less than perfect old drums need to be preserved too.
Read more1940s Restored Radio Kings
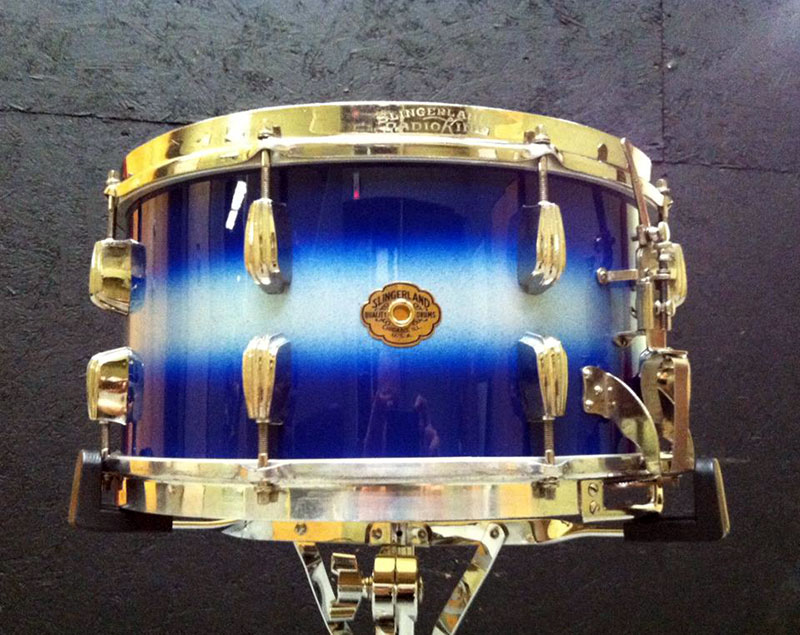
We found Joe Ciucci on Facebook a few months ago sharing pictures of his grandfather's one-owner 1940s Slingerland Radio Kings. These drums were masterfully restored by ATL Drum Collective in Atlanta, GA. We're going to run a feature article and interview with Joe in the coming months, stay tuned for more information and history, pictures of the full kit, and audio/video too!
The Tuxedo & Black Beauty
“No Drum Left Behind" - the restoration of an engraved 1920sC.G. Conn Tuxedo and early 1930s Ludwig & Ludwig Black Beauty
There comes a time when every vintage drum collector finds a “diamond in the rough” and has to decide either to: 1) keep it original (but flawed), 2) do some restoration work, or 3) walk away from the deal. From a purist’s perspective, any change to a vintage drum will greatly diminish, if not destroy, its value. However, I would argue that there are times when salvaging a drum through expert restoration is truly warranted. Here are two such examples…
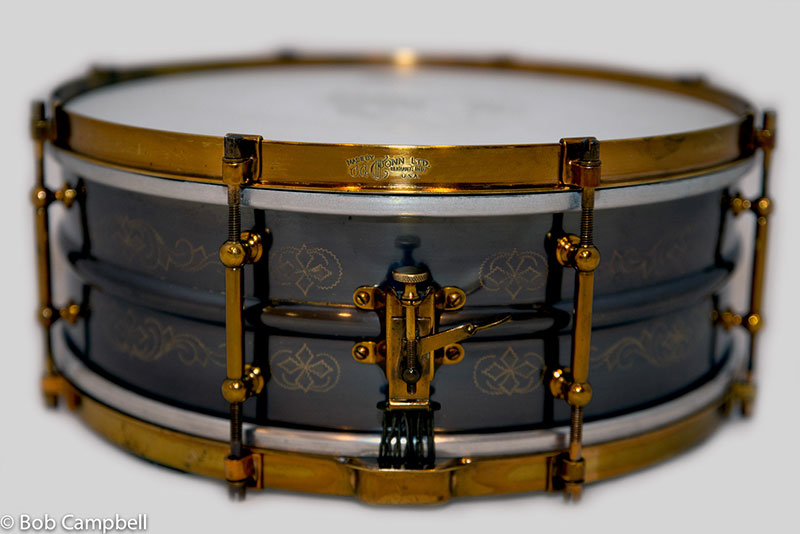
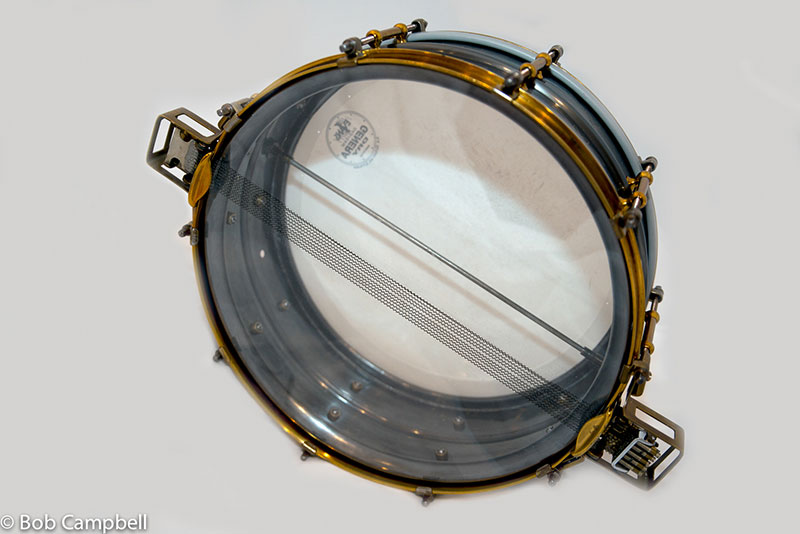
Some time ago, I stumbled across two such “rough diamonds” on Ebay. One auction had no other descriptor than “1920s-30s C.G. Conn 5X14 Brass Snare Drum.” I looked closely at the pics by eye and thought I saw some engraving on the shell. To examine it further, I downloaded the auction pics and zoomed in using Photoshop. Lo and behold, it looked like a 1920s C.G. Conn engraved Tuxedo with the characteristic four diamond cross pattern! The inside of the shell still retained the black nickel so I was pretty certain the outer black nickel plating had been removed. I won the auction for a very reasonable amount, so the thought of black nickel re-plating seemed like a worthwhile investment. When the drum arrived, my presumptions were confirmed. It was indeed an 8-tube lug, 1920’s Conn Tuxedo with “Made by C.G. Conn LTD, Elkhart, IN U.S.A.” stamped on the upper hoop, 4-screw “Presto-like” strainer, Knobby Gold hardware and shell engraving in beautiful condition. Next, I set about to do some research on what it would take to properly restore this drum. I needed to think long and hard about this, as it required additional investment and had to be done correctly if done at all. Meanwhile, another orphan drum serendipitously crossed my sights on Ebay.
This time, the drum was clearly identified as a “1920s-1930s engraved Ludwig Black Beauty.” The early 1930s art gold hardware looked amazingly well preserved for its age: 10 brass tube lugs, timepiece strainer; smaller, more rounded snare gates, “Super-Ludwig” embossed on the bottom hoop in block letters. The logo engraved on the shell was somewhat unusual, reading “Ludwig – Trademark” rather than the usual “Ludwig, Chicago U.S.A.”, and bounded by a rectangular box (actually, a parallelogram as I was corrected by my daughter) one panel to the left of the strainer. The catch was that the engraving was thoroughly blackened with none of the brass visible. During its lifetime, the drum had either been painted black or poorly re-plated. I took a gamble and placed a winning bid, hoping that there was some original black nickel underneath. When I got the drum, I sent pics out to Mike Curotto and Harry Cangany for their thoughts on the shell. None of them could be certain from the pictures whether it was black paint or nickel. So off the drum went to Mike Curotto’s shop for closer examination. A short time later, Mike gave me the unfortunate news - the drum had been painted and no black nickel remained.
This now left me with two wonderful vintage drums whose hardware was in great shape, the original engraving intact, but stripped down to the brass. I consulted Harry Cangany about restoration, weighing the concerns of valuation/devaluation vs. preservation. I finally came to the conclusion that these two drums needed to be brought back to life, to the way they looked in the 1920s and 30s (fortunately, Harry agreed ☺). This was not about vintage drum investment but more so about preserving our drum heritage.
I was convinced re-plating was the right thing to do. So, I contacted the amazing drumsmith, Adrian Kirchler (“AK”), in Italy. I was aware that AK not only made great drums for Ludwig (100th Anniversary Triumphal) and Craviotto (AK/Craviotto Masters Metal series, 10th Anniversary Black Diamond) but also was the only craftsman in the world who could re-plate engraved drums and leave the engraving shining brightly through the black nickel. Mike, who had the drums in his shop, kindly sent them shells to Adrian for re-plating. Mike kept the hardware to polish/buff up and spray a coat of clear lacquer. As Mike says, “rust never sleeps."
About six weeks later, the drums arrived at my home. I think the pictures speak well to the outstanding work of AK, together with the gentle, expert cleaning by Mike Curotto. I have no regrets. The drums are beautiful. They have been kept intact with original or period-correct hardware and original engraving. However, now the artistry of the engraving glistens against contrasting dark, black nickel as it once did almost century ago. The drums are whole again. I feel content that two drums have been saved from the scrap heap, and now serve as gleaming historical artifacts of early drum craftsmanship. I guess it’s the next closest thing to a time machine… I just wish I could bring back the original owners in order to hear how the drums sounded in their hands. I’ll just have to settle with playing them myself and pretending…
Best wishes, Bob
Many thanks to Harry Cangany, Mike Curotto and Adrian Kirchler who kindly provided guidance, encouragement and their talents to this project.
TRIPLE Top Hat & Cane Restoration
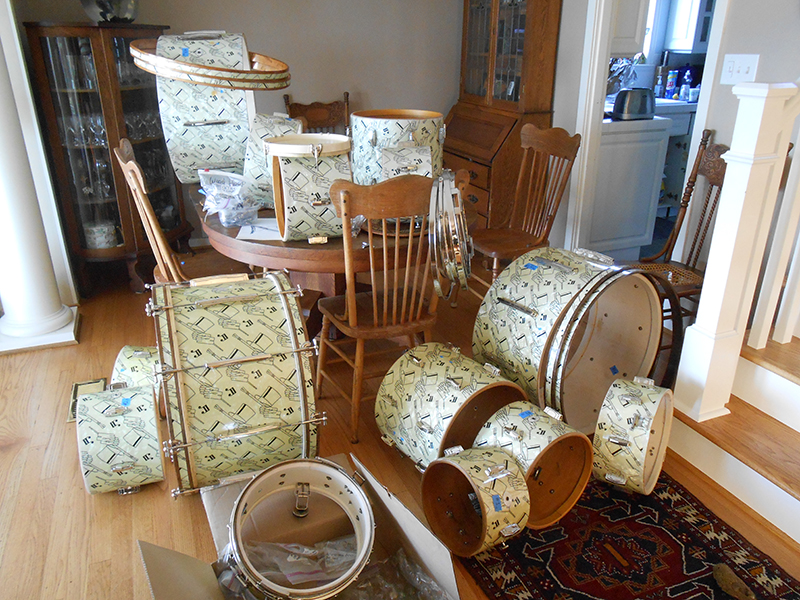
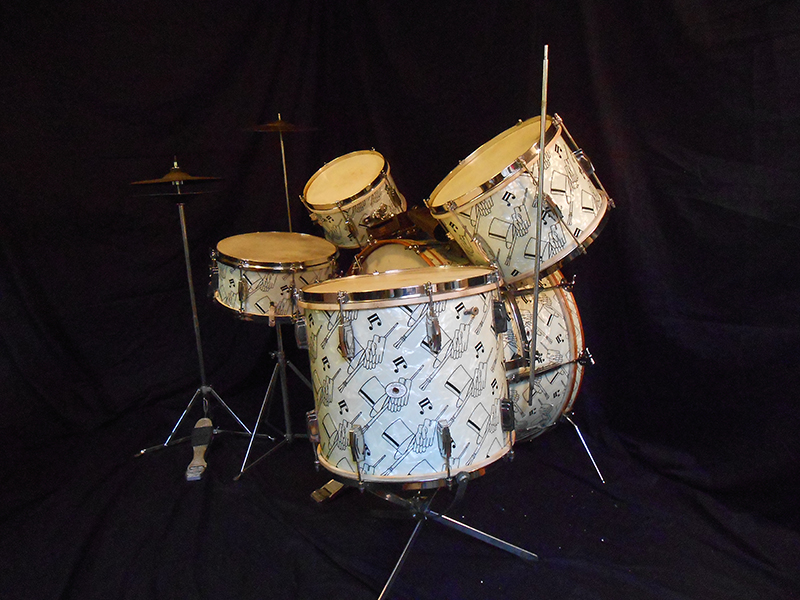
MY TRIPLE TOP HAT AND CANE RESTORATION IS COMPLETE!!
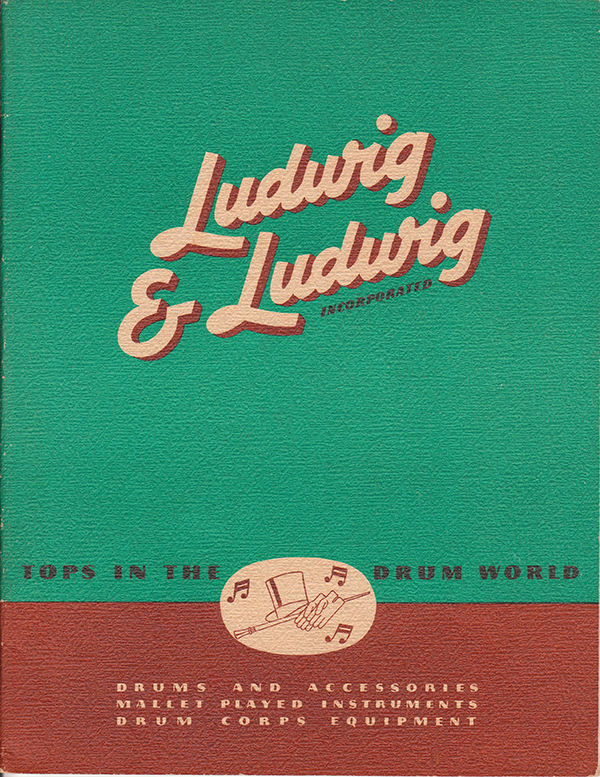
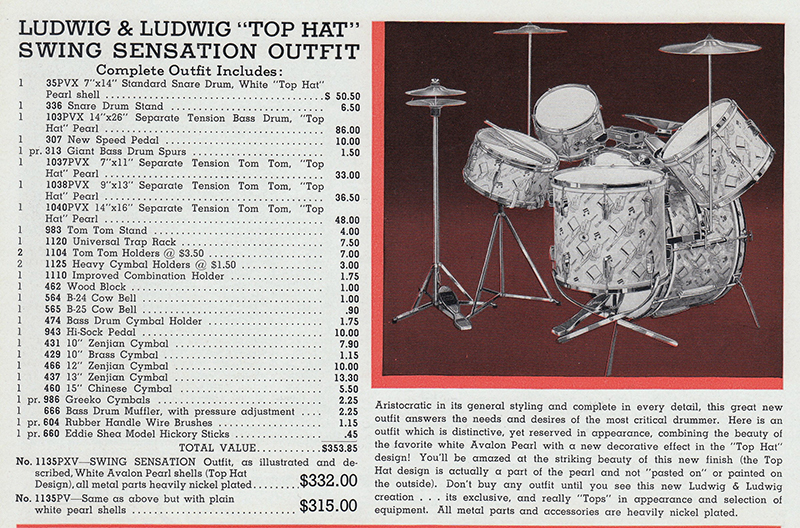
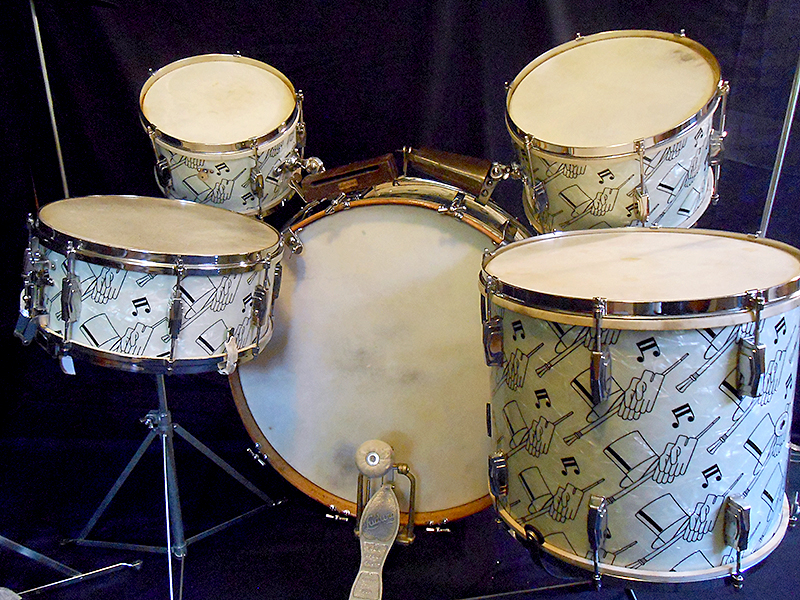
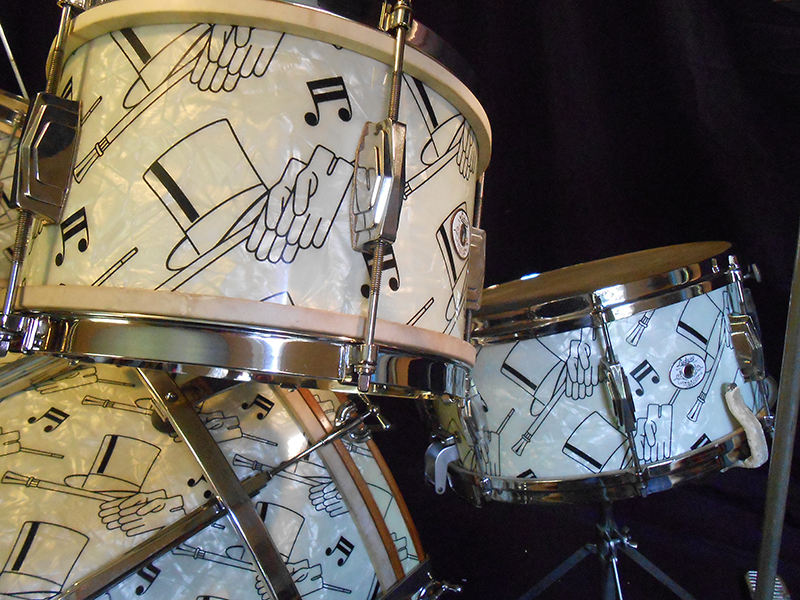
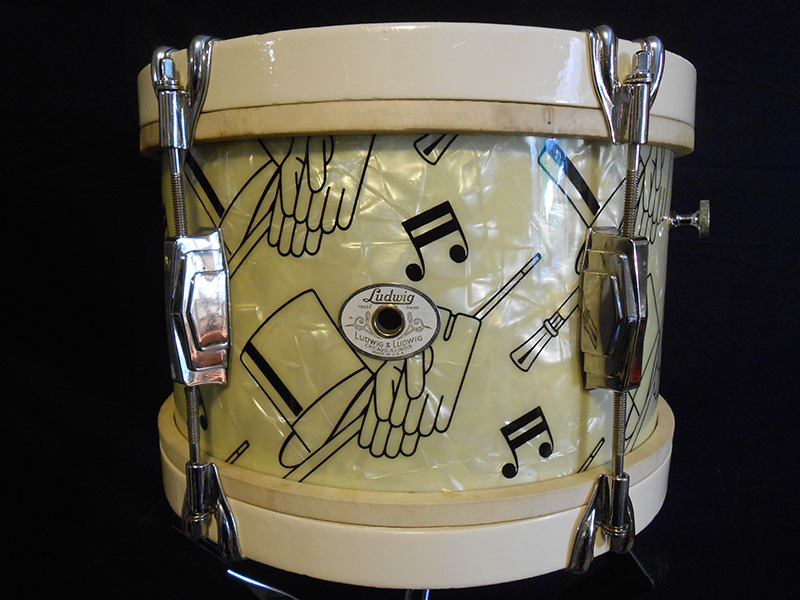
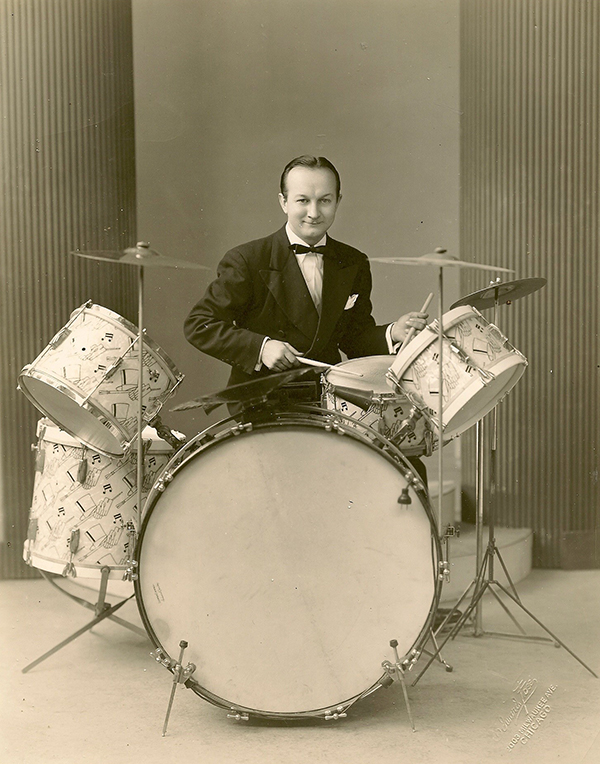
The Ludwig Top Hat and Cane “Swing Sensation” drum set is considered by most collectors to be the holy grail of all vintage drum sets. Top Hats were first made in 1940. They appeared in the Ludwig and Ludwig catalog for just 2 years in 1940 and 41. It was the absolute best drum set money could buy. Ludwig and Ludwig’s slogan at the time was “Tops in the Drum World”. The Top Hats were their “flagship” drum set. It was the top of the tops. Nobody knows for sure how many of these sets were made, however it’s assumed that there were very few. At a staggering $353.85 (about $5,000.00 in today’s money), the set was extremely expensive. In early 1942 all drum production declined dramatically as the United States imposed metal rationing during World War II. All of these factors contributed to the a very small number of these sets ever being produced. Fewer than 15 of these sets are believed to still be in exist. There are many questions that revolve around the history of the legendary Top Hat sets. Hopefully this article will answer some of them and probably raise a few more.
1) 1940 Ludwig and Ludwig catalog cover with “Tops In The Drum World” slogan 2) Top Hat “Swing Sensation" cataloge page
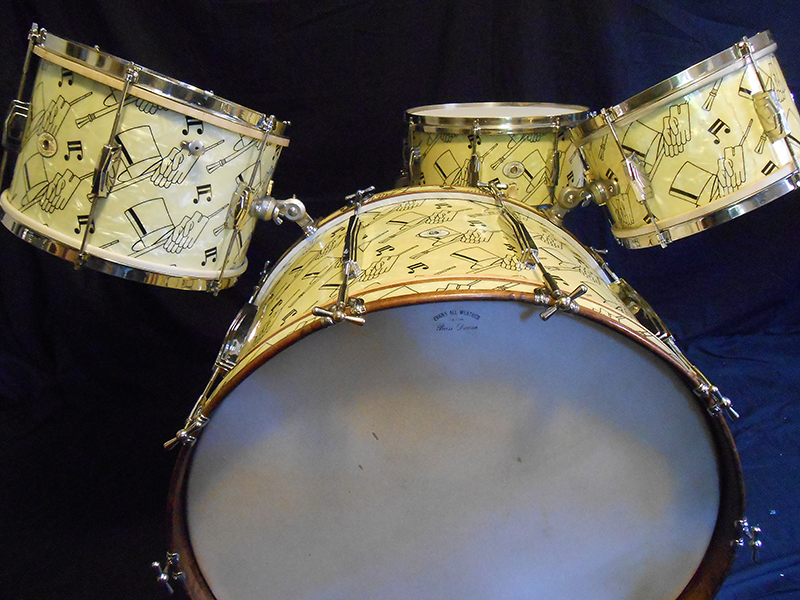
Initially the Top Hat finish was only available on the "Swing Sensation” set. This model was a complete outfit that included stands, cymbals, woodblock, and cowbells. It even included sticks and brushes. The drum sizes included a 7” x 14” snare, a 14” x 26” bass drum and 7” x 11”, 9” x 13” and 14” x 16” double tension toms”. The cymbals, small toms, bells and woodblock mounted to the bass drum on an "1120 Universal Trap Rack”. This ingenious arched rail mounting system attached to the batter side bass drum hoop and rested on top of the bass shell on 4 rubber feet. The floor tom sat in a basket style floor stand.
Top Hat drums have surfaced in sizes including 28” bass drums, 14” floor toms and tack bottom toms with date stamps as late as 1948. Presumably these were special order drums that were made some time after the initial offering.
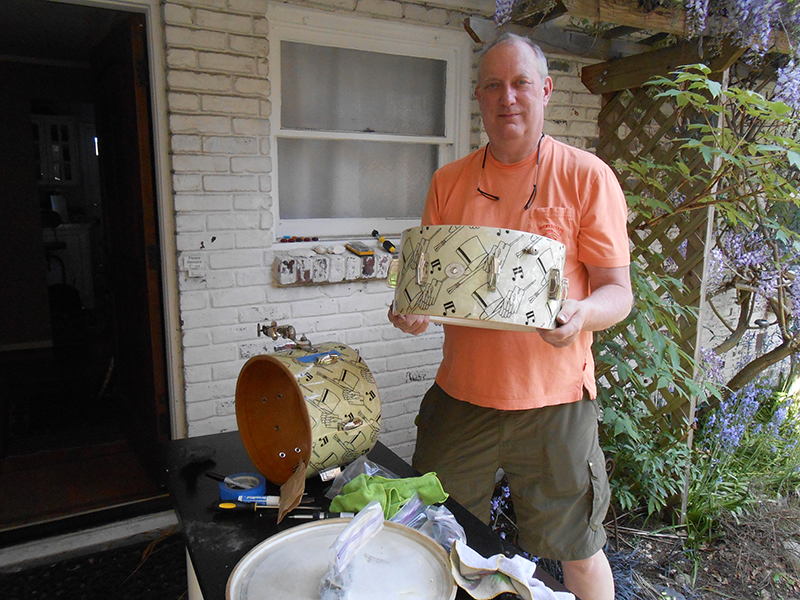
I've had the extreme good fortune to have owned 6 of these Top Hat sets. I never really searched for any of them. They all just found their way to me. I’ve always had great luck when it comes to finding vintage drums. If there’s such a thing as “Drum Karma” then I definitely have it. I still have 3 of these sets. I decided that these drums should be restored to as close to their original magnificence as possible. Every drum (14 in all) required at least some work. Most of the drums were already in excellent condition. Some needed some minor repairs and some were missing a few parts. The biggest part of the restoration was machine polishing all of the shells and nickel hardware. All of the drums had already been meticulously hand cleaned and polished but it was clear that they could be dramatically improved by machine buffing. It’s pretty amazing what you can do with a power buffing wheel. It’s also pretty amazing how quickly you can destroy a drum if you make a mistake. One false move and you’re dead!!
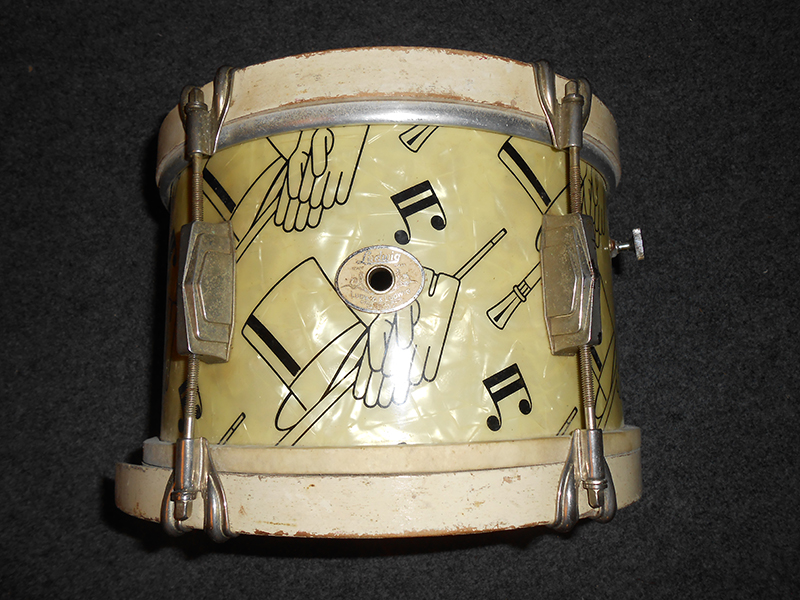
Power buffing the shells eliminated minor scratches, and brought back most of the original color and shine. There was some concern that the black Top Hat graphic might buff off of the shell. Upon reading the original catalog description we discovered this would not be a problem. “The Top Hat design is actually a part of the shell and not "pasted on” or painted on the outside”. Power buffing the nickel hardware removed minor scratches, pitting and cloudiness and made it shine like new.
The first step in the project was to completely disassemble all 3 sets. It soon became apparent that we needed to keep everything extremely well organized. You can imagine the potential confusion as we would be sending hundreds of small parts all over the country. I called my good friend and vintage drum historian Paul Black to help me keep everything in line. Paul made sure every nut, bolt and washer was meticulously labeled and organized. This meticulous organization took a little extra time but ultimately saved us a huge amount of time in the end. Not one part was lost or misplaced. I always enjoy working with Paul. He really knows his drums and we get along extremely well. Paul has a very unique sense of humor. We kept our selves laughing the whole time.
The following is a brief description of each of the 3 sets and the details of their individual restorations.
The Wood Hoop “Hank Leja” Set
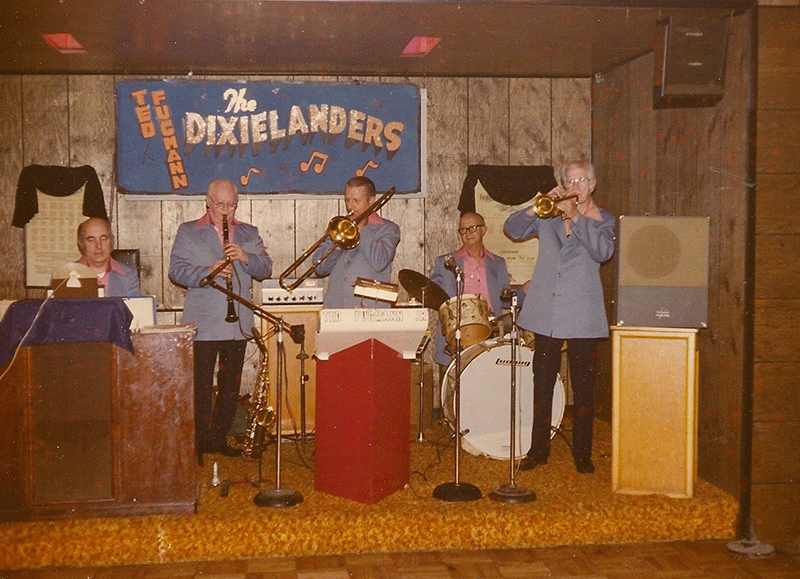
Hank Leja was a popular mid-western drummer who played in a variety of local swing and dixieland bands. He bought his Top Hat set brand new in the early 40s and played it throughout his entire career. Hank died a few years ago and his daughter contacted me after she inherited his beloved drums. After several months of negotiating I received what remained of Hank’s Top Hat set. By the time Hank passed the original bass and snare had disappeared. The snare met an unfortunate end after being loaned to an aspiring 5th grade drummer who apparently didn't cherish it as much as Hank did. Nobody knows exactly what happened to the bass drum. Fortunately, my great friend and long time vintage drum aficianado Tony Lewis had located an incomplete Top Hat set with a 26”,13” and a snare in Toledo, Ohio a couple years earlier. I’d purchased them and stuck them in my back room waiting for their matches to surface. Drum karma strikes!
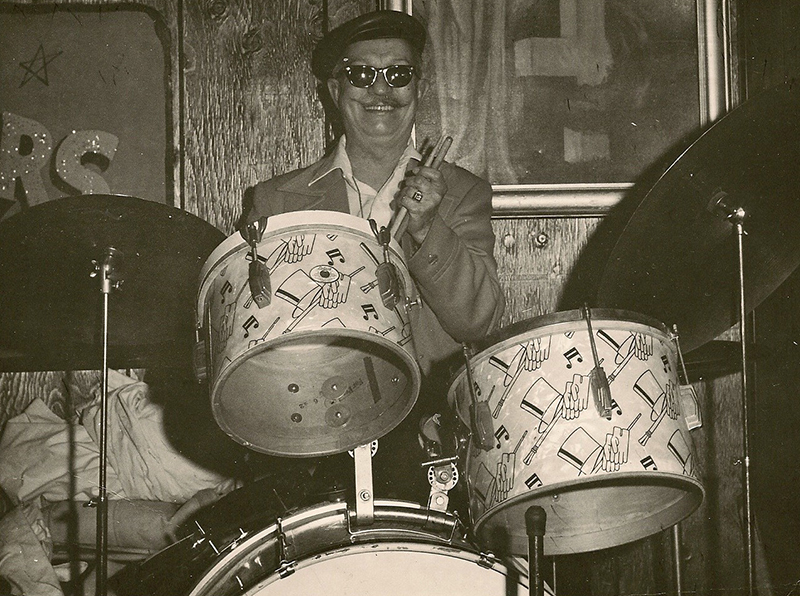
1) A young Hank Leja with his brand new Top Hat and Cane Swing Sensation drum set. Circa early 1940s. 2, 3) Hank Leja in the 1970s with his “modernized” tom mounts.
I was extremely fortunate to receive a collection of photos that document the evolution of Leja's set throughout it’s 70+ year run. In the earliest photo, a fantastic studio portrait of a young Hank Leja with his beautiful new Top Hat drums, you can see the most unique characteristic of this particular set. The 11” and 16” toms both have white lacquered wooden hoops. I've never seen or heard of any other wood hoop Top Hat sets. Why the 13” tom has metal hoops is anyone’s guess. What is clear from the early photo is that it was like that from the start. Another unique detail about this set is that all 3 toms each have 2 separate date stamps, 11/41 AND 6/42. Go figure??
The 11” tom got mis-placed during shipping. The shippers knew they had it but were just not sure where. It took several months to locate it so the restoration of the rest of the drums had to begin with out it. When I finally received the 11” tom I discovered it need considerable attention. The wooden hoop had separated at the seam, a new tom mount had been mounted on the shell and the wrap and hardware were definitely showing their age. I sent it to Matt Sinyard at the Bonzo Drum Company in Florida. I’d seen a remarkable restoration that Matt had done on one of Buddy Rich's 1950s WFL sets and knew the drum would be in good hands. He easily repaired the damaged wooden hoop. For the sake of continuity, we decided to replace the metal hoops on the 13” tom so that all the tom hoops would match. Matt modified a set of old Slingerland wooden hoops to look virtually identical to the Ludwigs. At this point he repainted all the wooden tom hoops in white lacquer using the original 1940s photo as a reference. Matt is also a master with the buffing wheel. We decided to experiment on the 11” tom to see how well the finish could be restored. Once I saw the dazzling results it was clear I needed to have the entire Top Hat collection buffed. Shipping the 13 remaining shells across the country was too risky and expensive. Fortunately, my old friend and expert drum builder Jerry Garcia from Garcia Custom Drums is right here in Seattle. Jerry painstakingly buffed every remaining shell. Soon, over 70 years of scuffs and fading were gone and the 1940s shells were shining like a new dime!
There were a few small holes that needed filling after Hank “updated" some of the hardware during the 1970s. I sent them to restoration guru Jack Lawton to work his magic. Jack does amazing work. He did a beautiful job of matching the pearl finish and then hand painting the black lines where the Top Hat graphic had been drilled through. You have to look extremely close to even find the repaired holes.
Mike Curotto coordinated the buffing of the nickel hardware on all 3 sets. He knows a couple guys in California that do expert metal restorations. They have done many restorations on drums in Mike’s vast snare collection (practically a full time job right there!). These guys are total pros and are very experienced working with drum parts. As my luck would have it both guys got really sick as soon as I sent them my hardware. They had to shut down their shop for over a week, right as my project was supposed to start. This of course put them way off schedule and my job kept getting pushed back. Good things come to those who wait. I eventually got everything, almost 400 pieces. Every part looked spectacular. Nothing damaged, lost or mixed up. Just look at the before and after photos to see what an incredible job they did.
The Metal Hoop Set
I acquired this set locally from the nephew of the original owner. Over 10 years ago the nephew comes into my shop carrying a paper bag and asking questions about restoring old drums. When I ask what kind of set he’s restoring he proceeds to pull a beautiful Top Hat snare out of his bag. I tell him he has a very valuable set and encourage him to let us give it the full professional restoration it deserves. He’s adamant about doing the restoration himself as the set has great sentimental value to him. I also tell him that if he ever wanted to sell it that I would like to buy it. Again, he has a great sentimental attachment and says he could never sell it. I send him home with a bottle of shell polish and some basic restoration tips. Over the next several years the guy becomes a pretty regular customer. Every time he comes in I ask him how the restoration is coming. Every time the same answer “I haven't started yet but I’m going to really soon”. This continues for around 10 years. One day he shows up with the set in the back of his truck and and wants to sell it. I had just sold one of my other Top Hat sets and assumed I would never see another one in my life. Drum karma strikes again! He leaves with a big fat check. I get this Top Hat set (which included an un-opened bottle of drum polish).
This set is by far the best looking Top Hat set I’ve ever seen. There was nothing to repair. Once the shells and hardware were buffed it looked virtually brand new. I would venture to say this is the nicest Top Hat set in the world. I’ve seen lots of them and this one tops them all. If there’s a better one out there I would love to see it.
The 4 Piece Set
This set was acquired from a prominent mid-west drum collector. He’s a good friend of mine who knows more about vintage drums and the vintage drum industry than anyone I know. We talked about this set for years and eventually worked it into a trade. This set needed the most restoration of all the sets. The hardware looked good but the shells were definitely showing their age. There were a few extra holes on some of the drums and the finish on the 11” tom and the snare had cracked and were peeling up. Jerry Garcia back in Seattle did a great job of repairing the finish. He glued down the lifting finish and concealed the crack lines as much as possible. Then he gave the whole set a good buffing and really made them shine. This set really came back to life! In it’s own special way I think it’s my favorite. It has a lot of vibe. This set never had a floor tom or the rail mounting system that the other sets had. The toms mount to the bass drum hoop. Both of the toms are date stamped 8/41. The bass and snare are stamped 7/41.
The whole project l took about 3 years. It was a huge undertaking. It required a tremendous amount of time, patience, energy, organization and money. Did I mention money? I’m extremely grateful to all of the experts who contributed their knowledge, experience and skill to this restoration. It’s extremely gratifying knowing that these iconic drums are now close to their original spectacular condition.
So now what? What do I do with 3 Top Hat sets? As much as I’d love to keep them all I’m afraid I just don’t have room. My plan is to find new homes for 2 of the sets. Whichever set remains I’ll keep and play in my studio. Hopefully I’ll be playing them as long as Hank Leja did.
I welcome any questions or comments. I have lots more photos if any one is interested.
Late 70s Premier Resonators
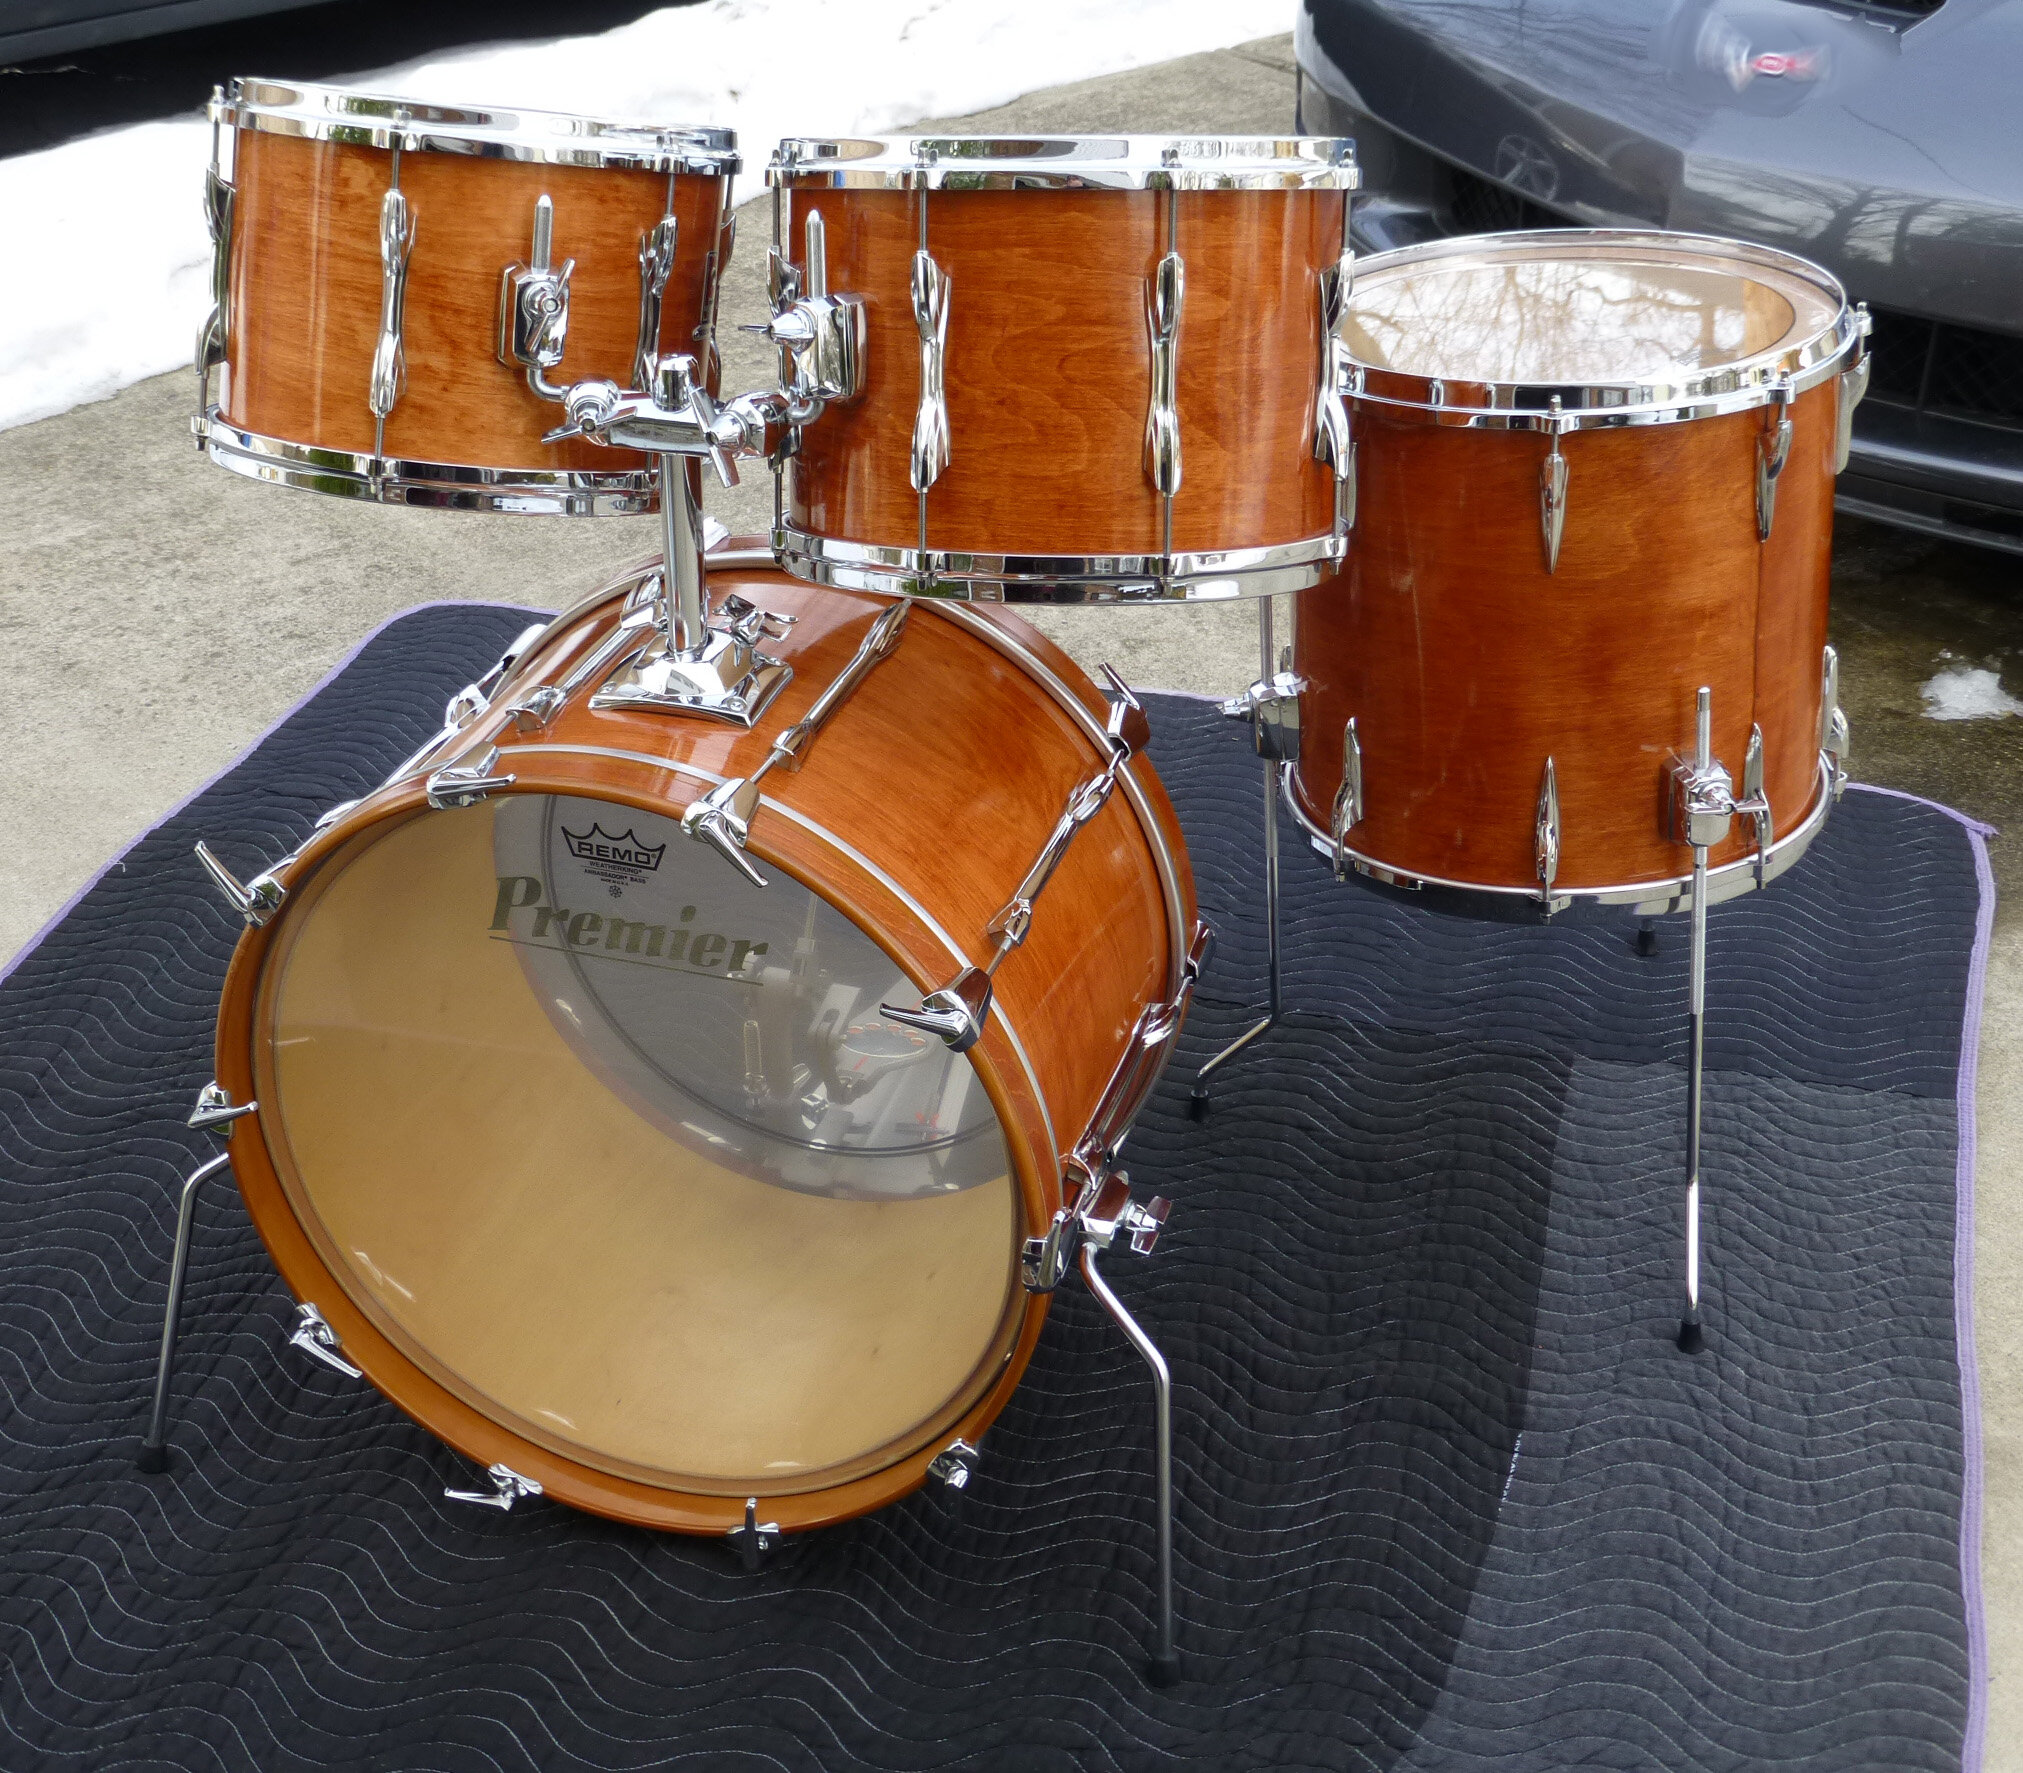
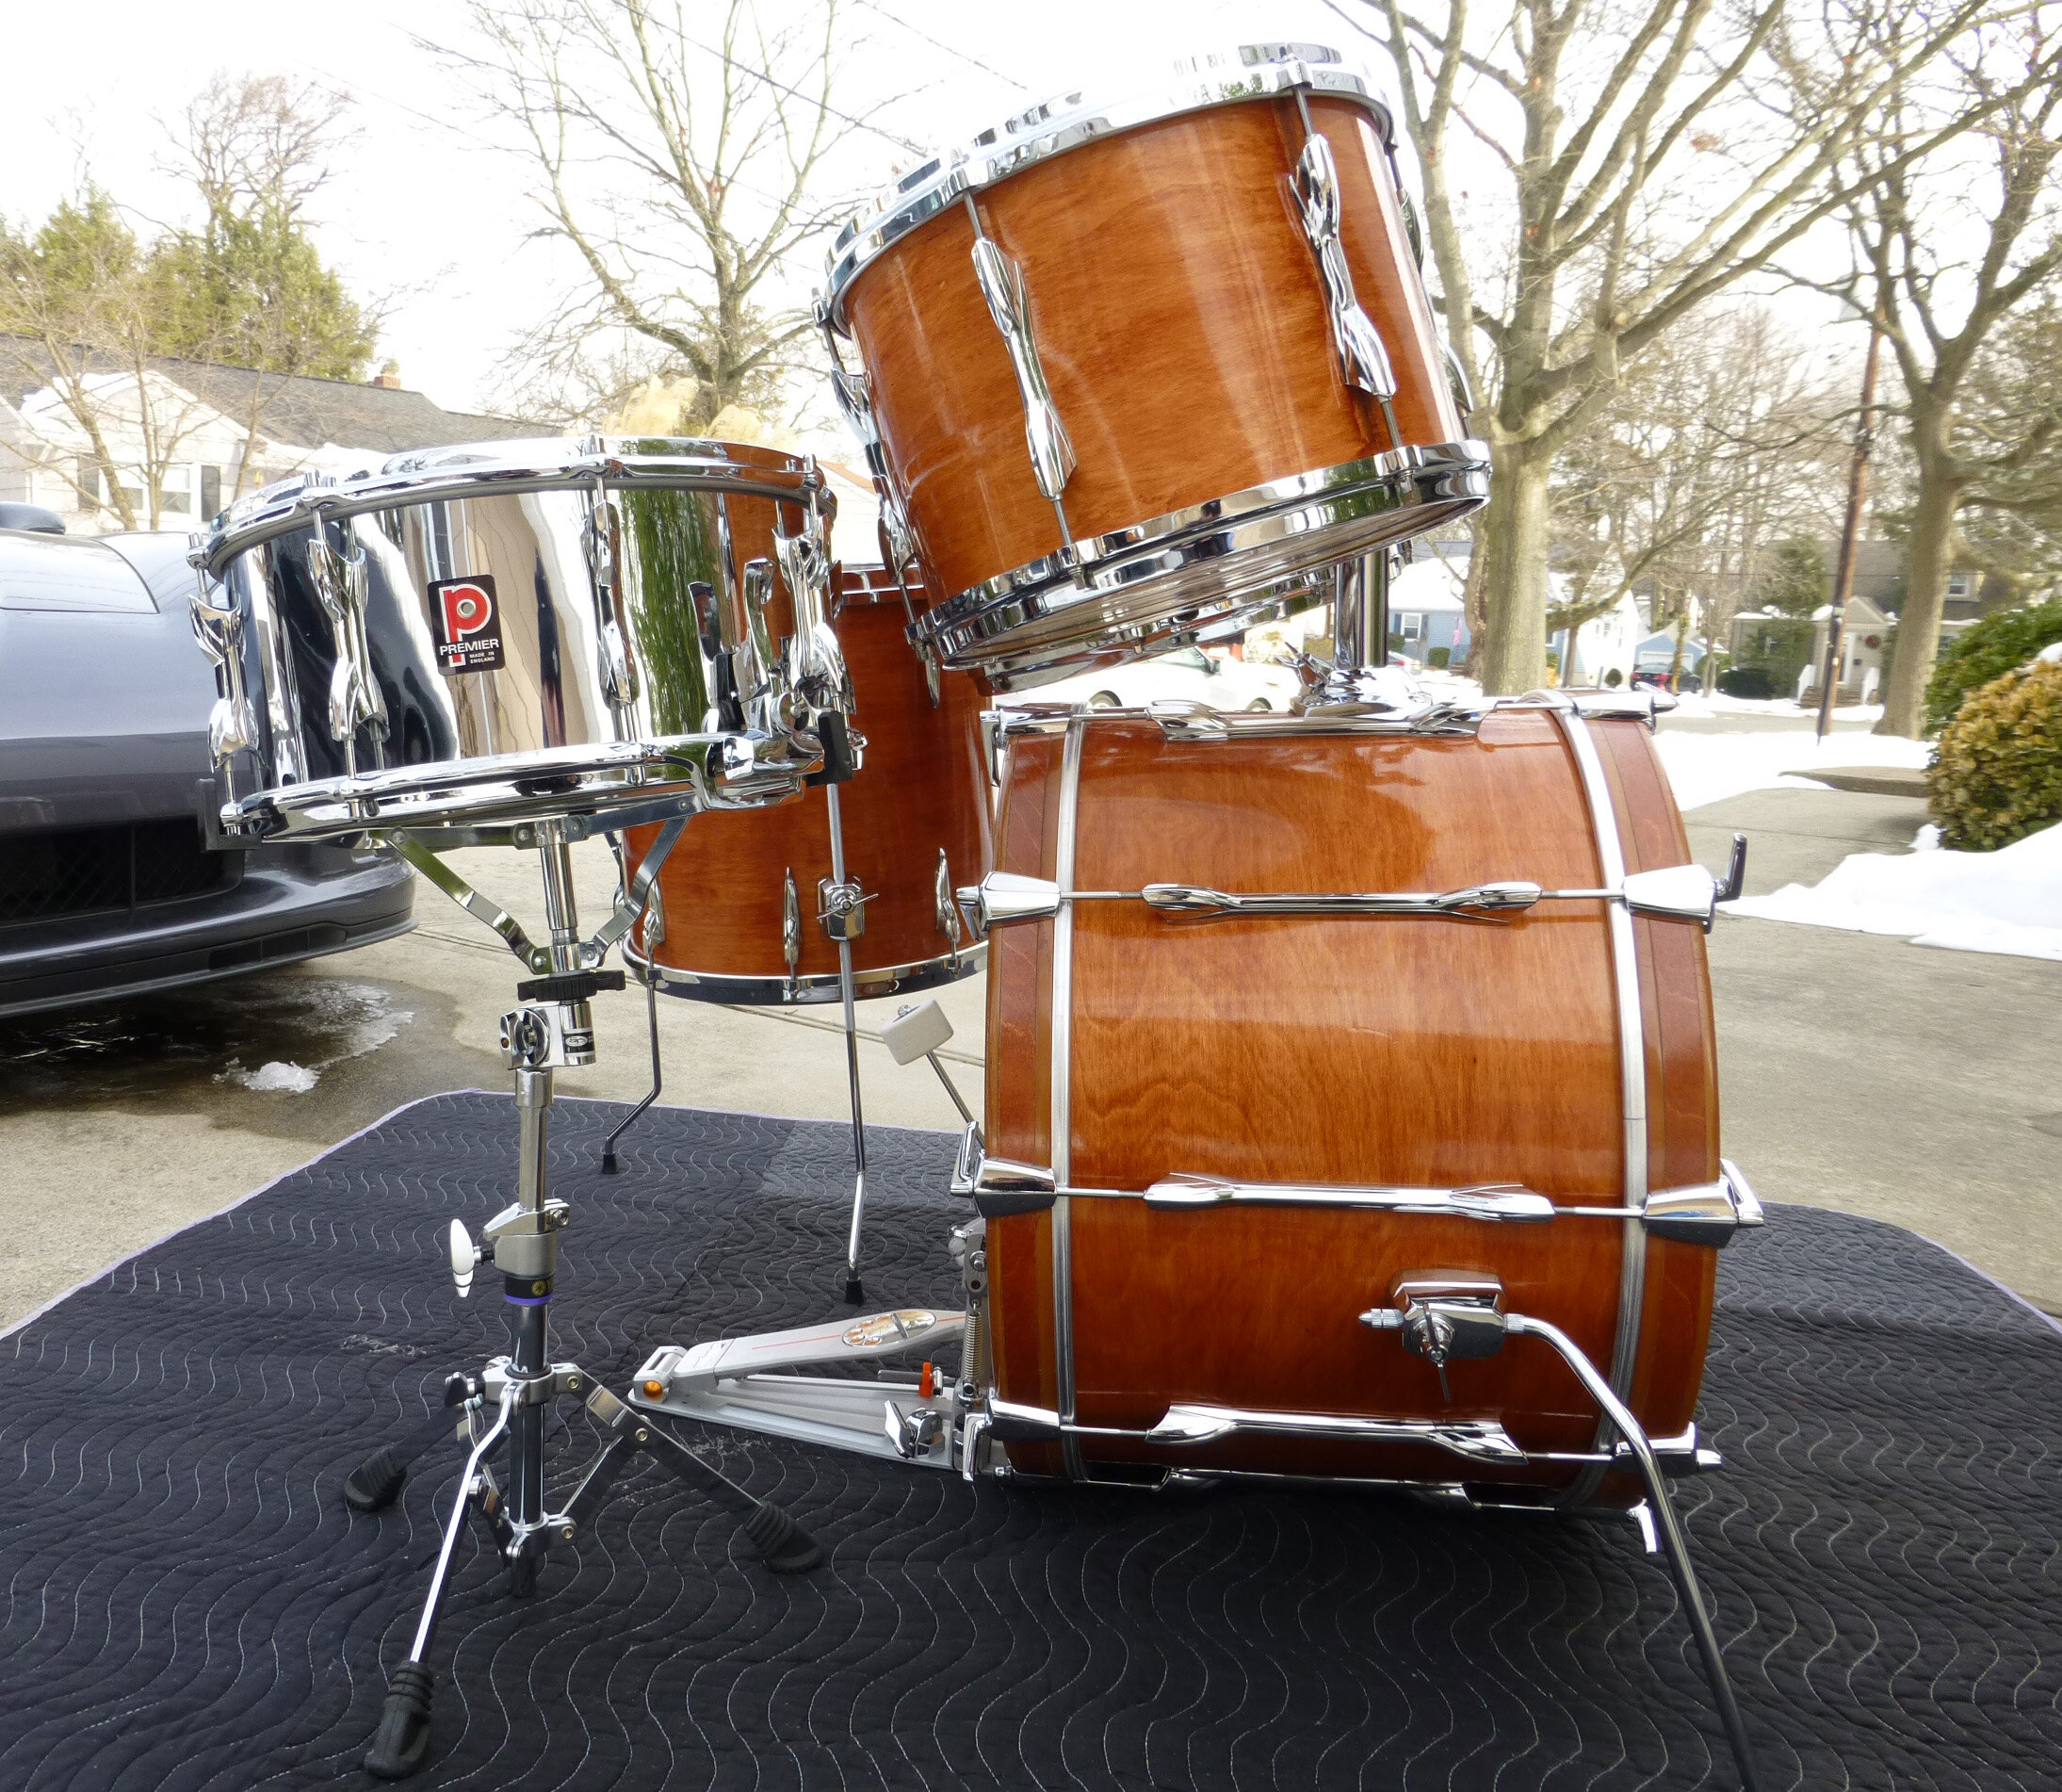
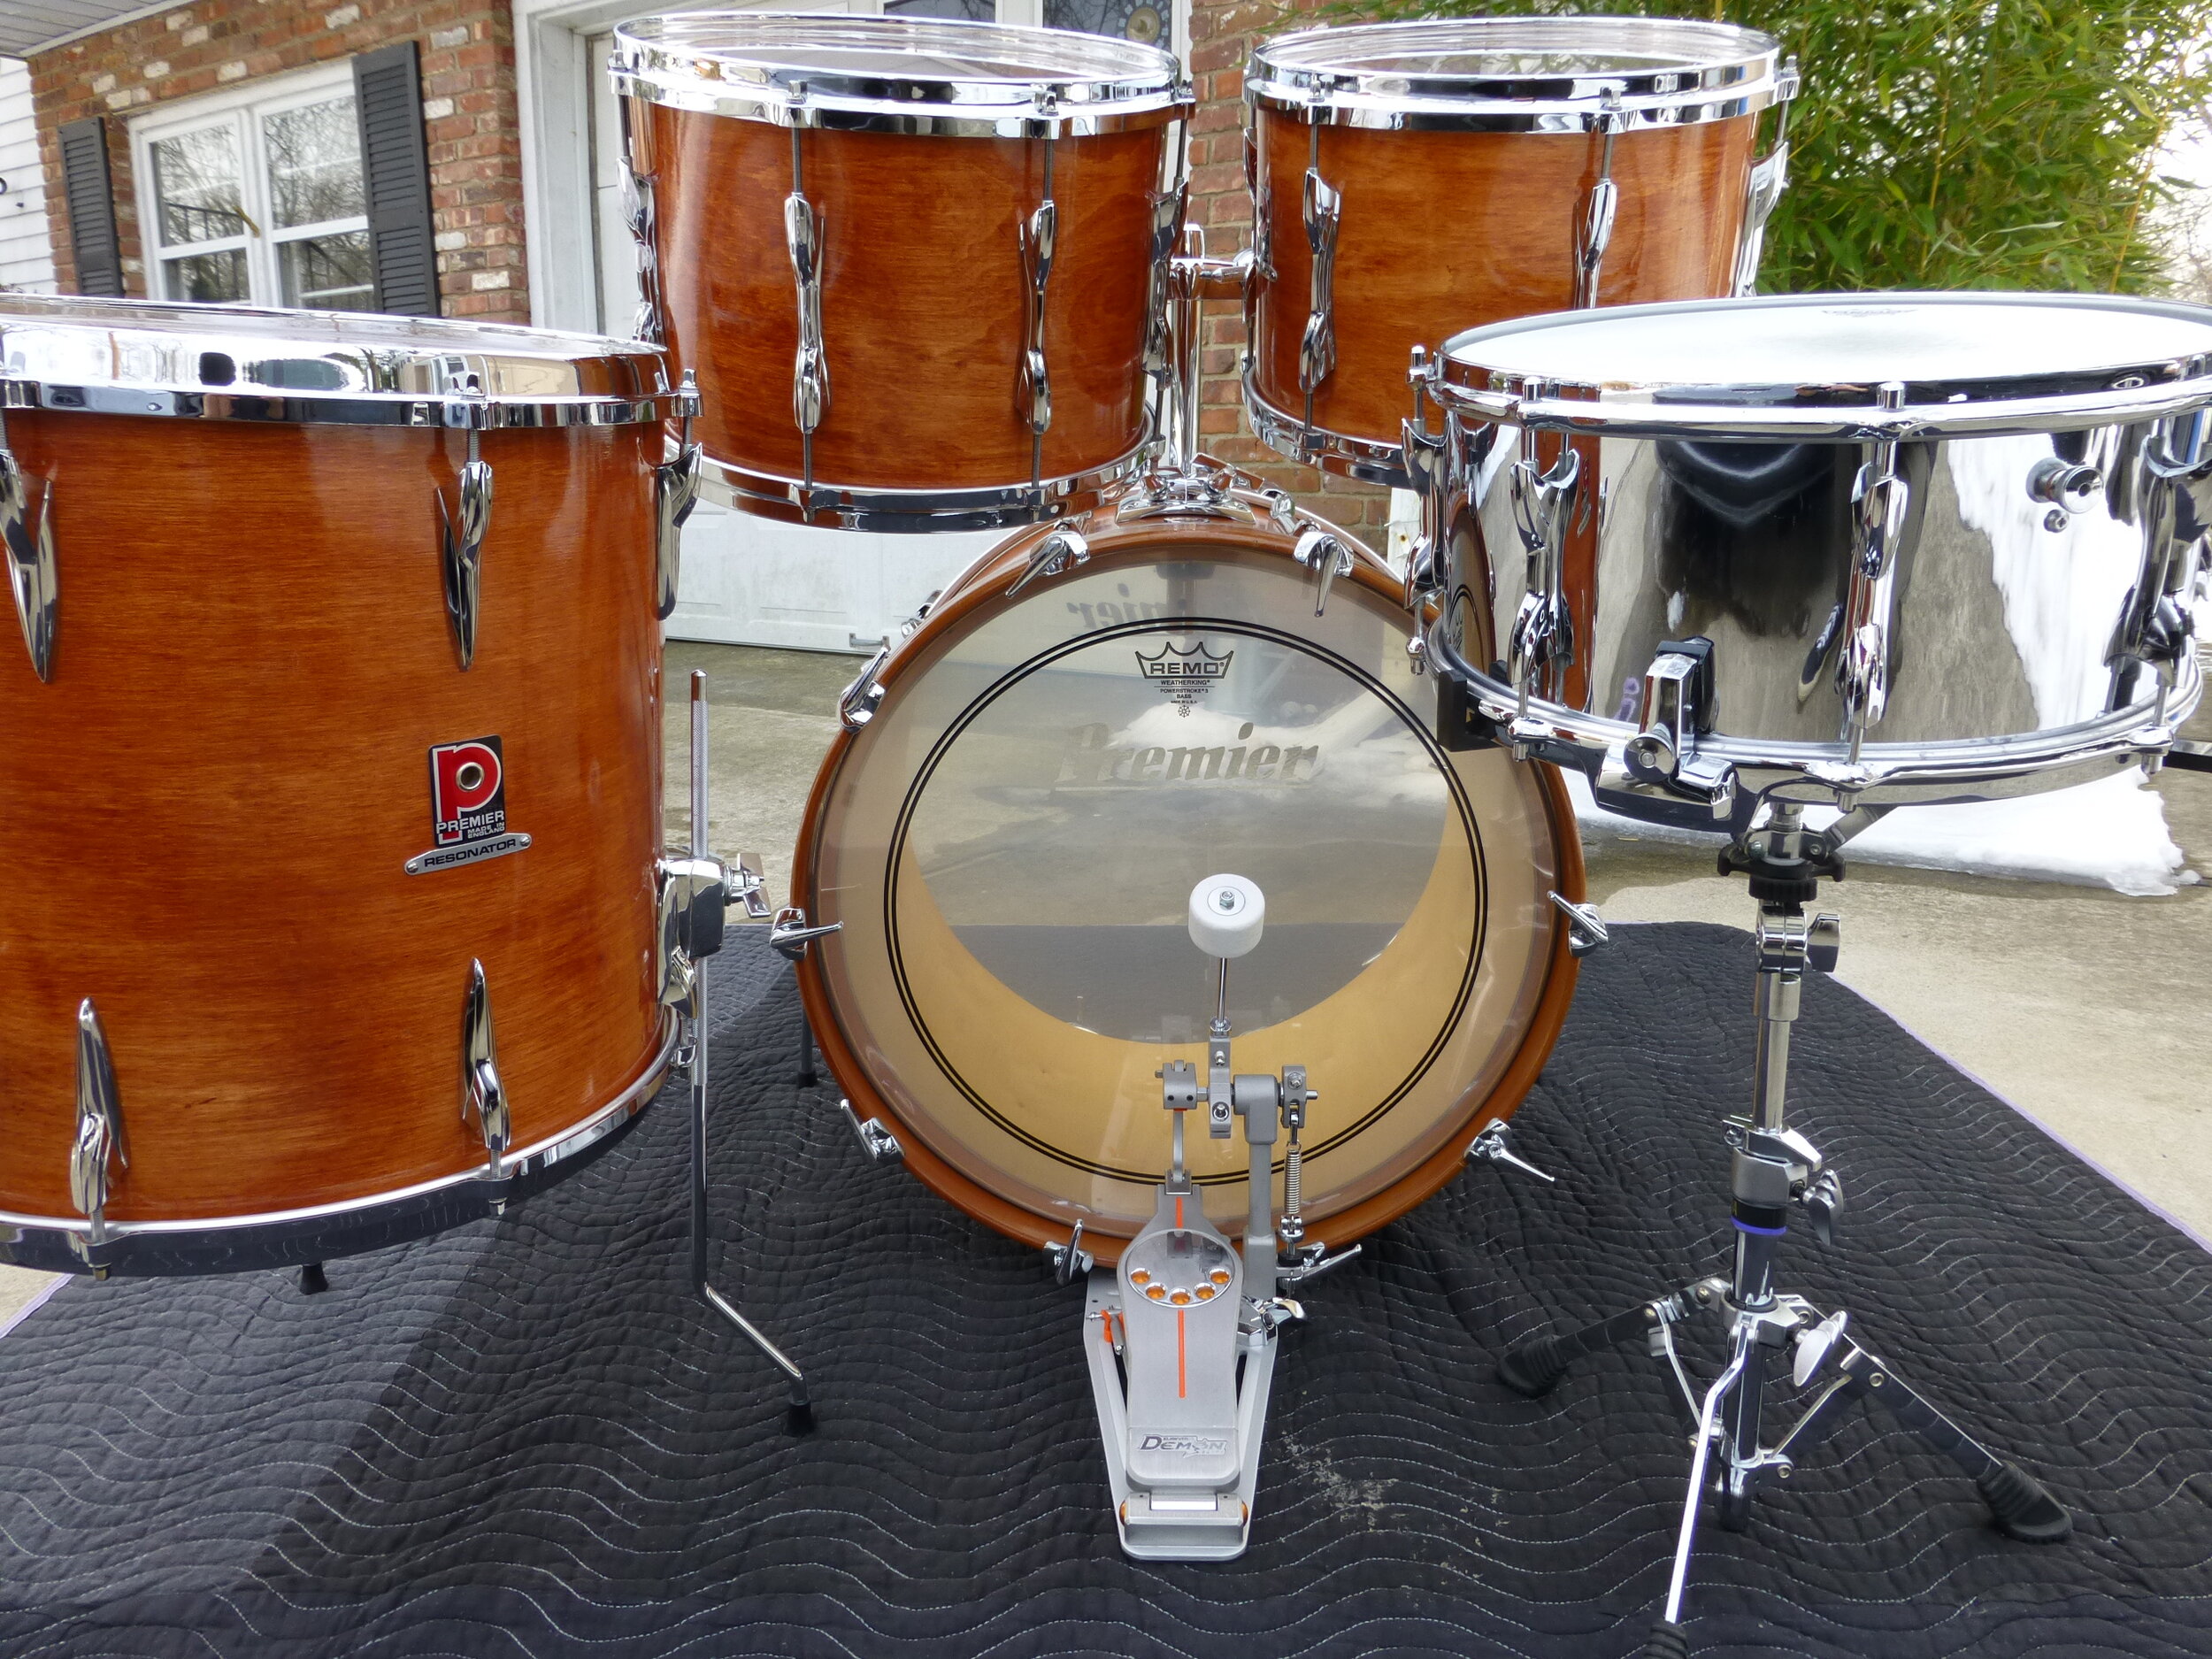
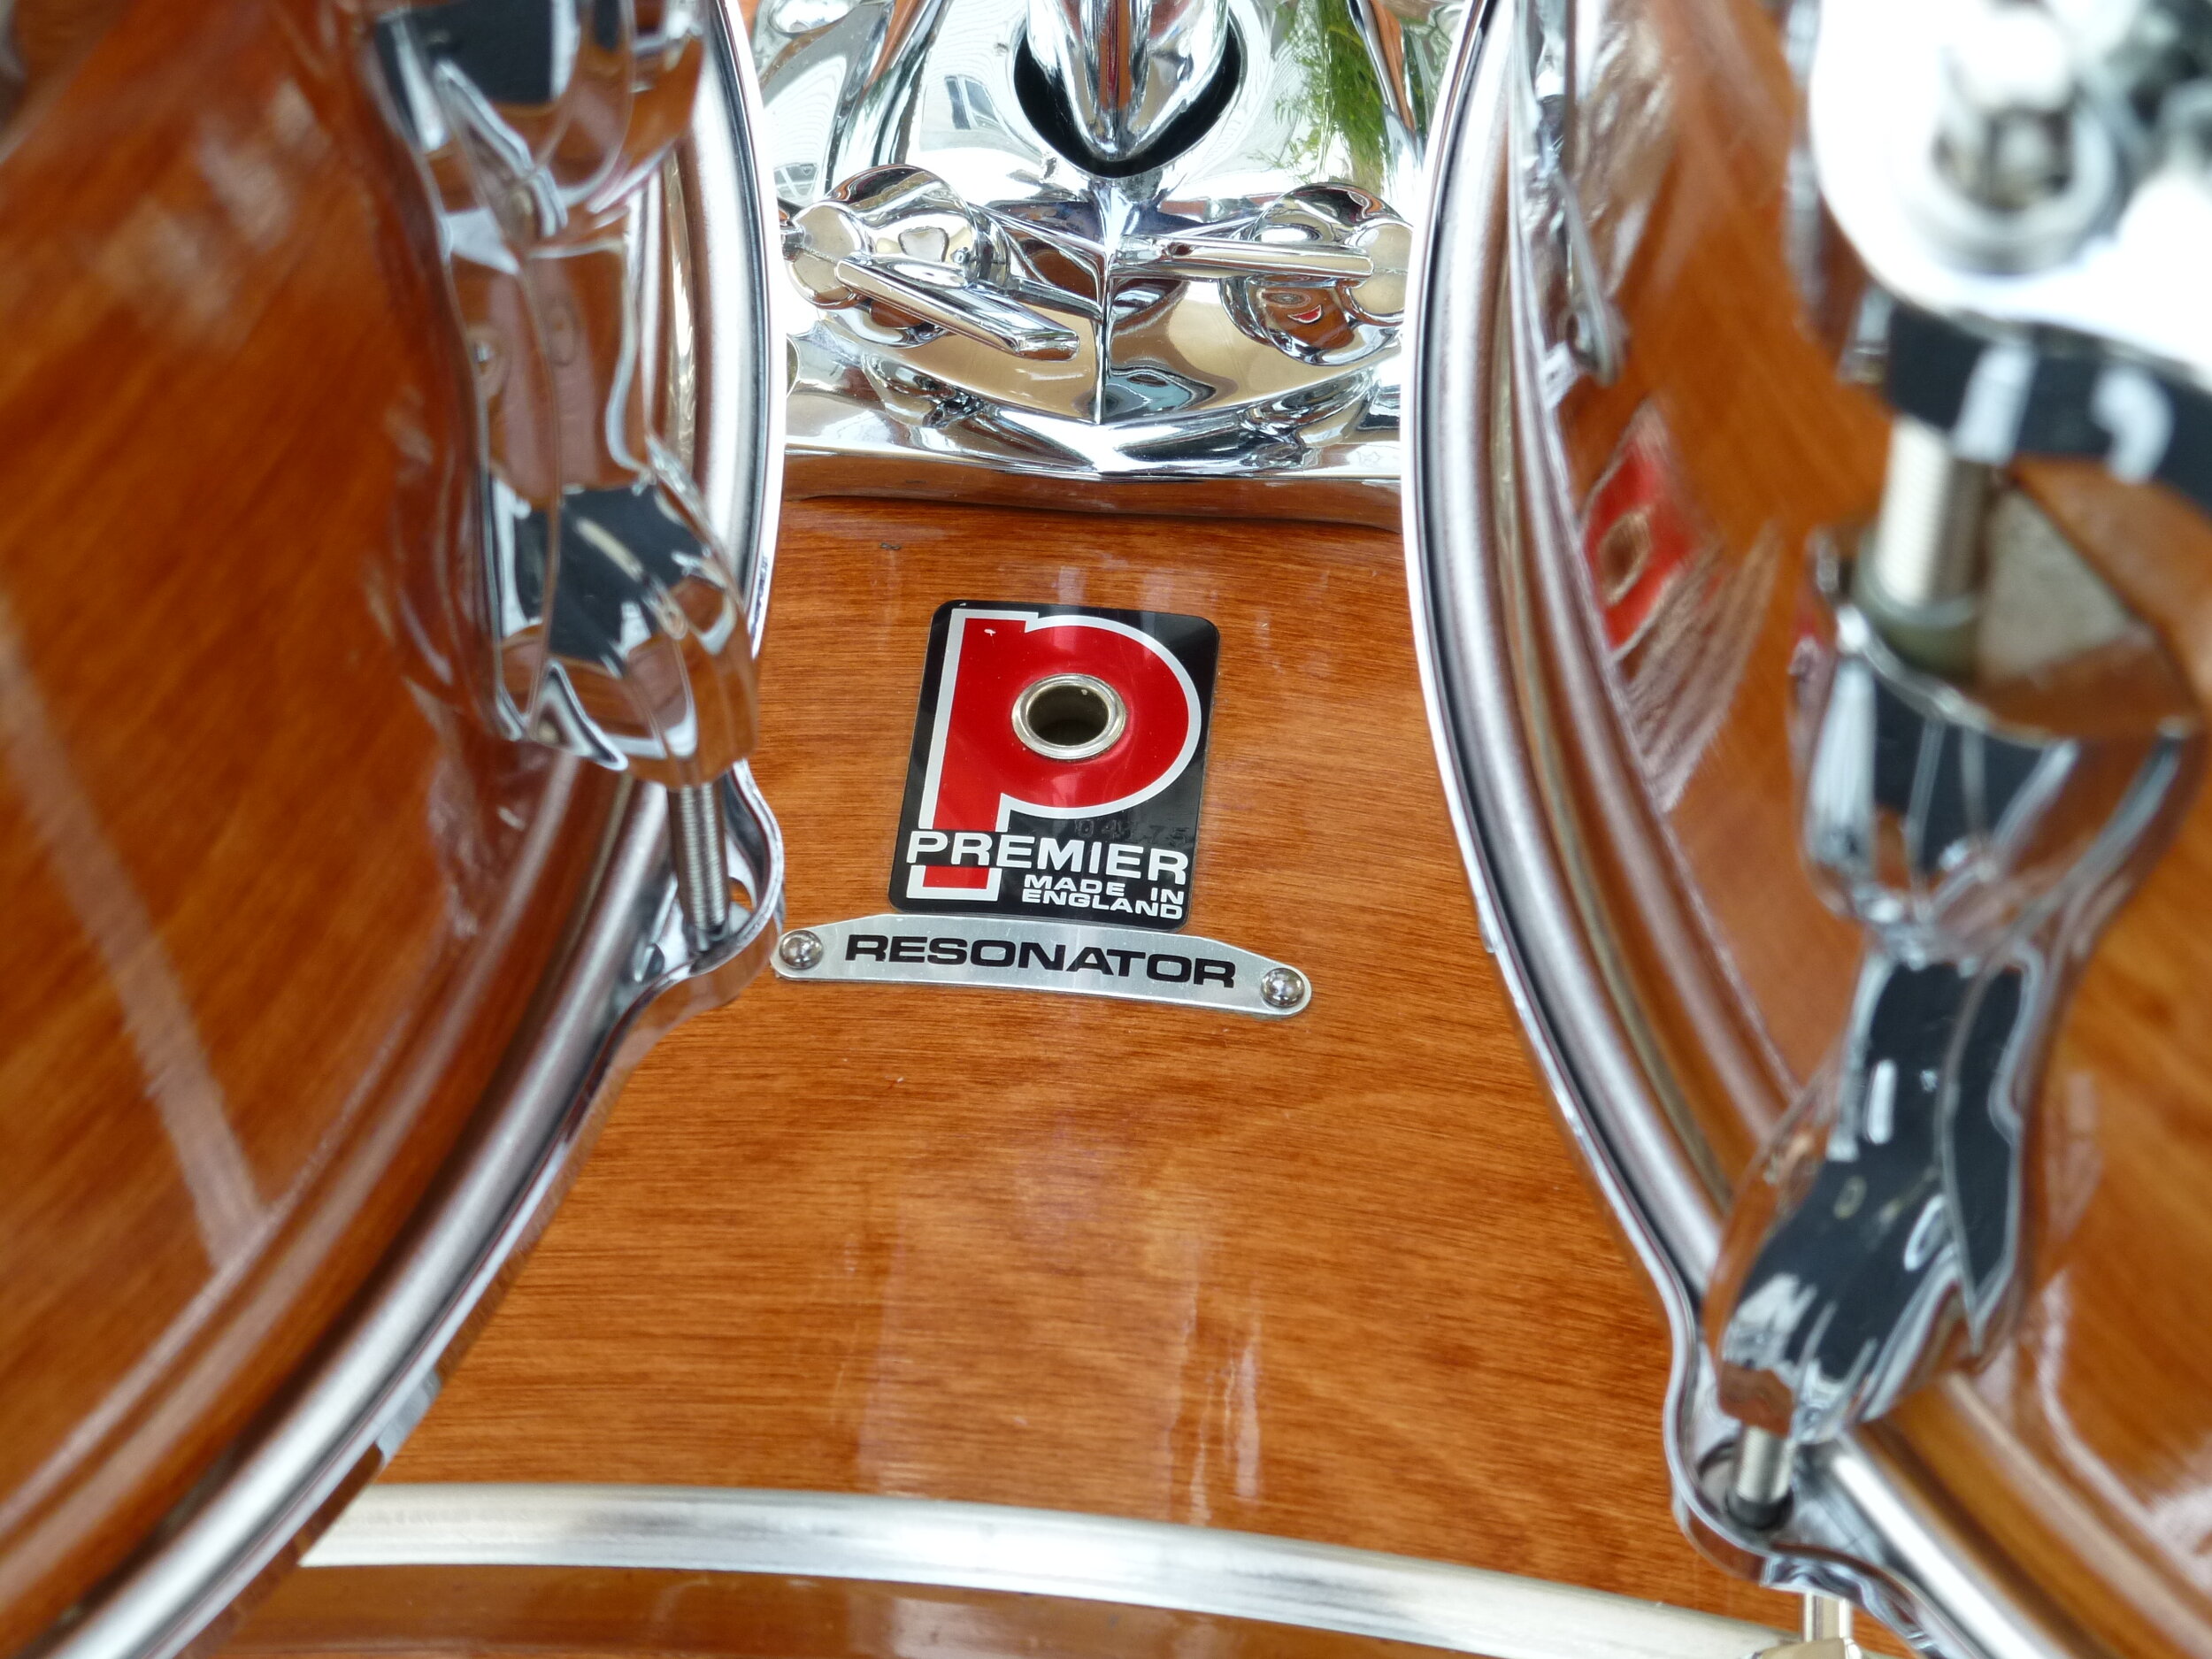
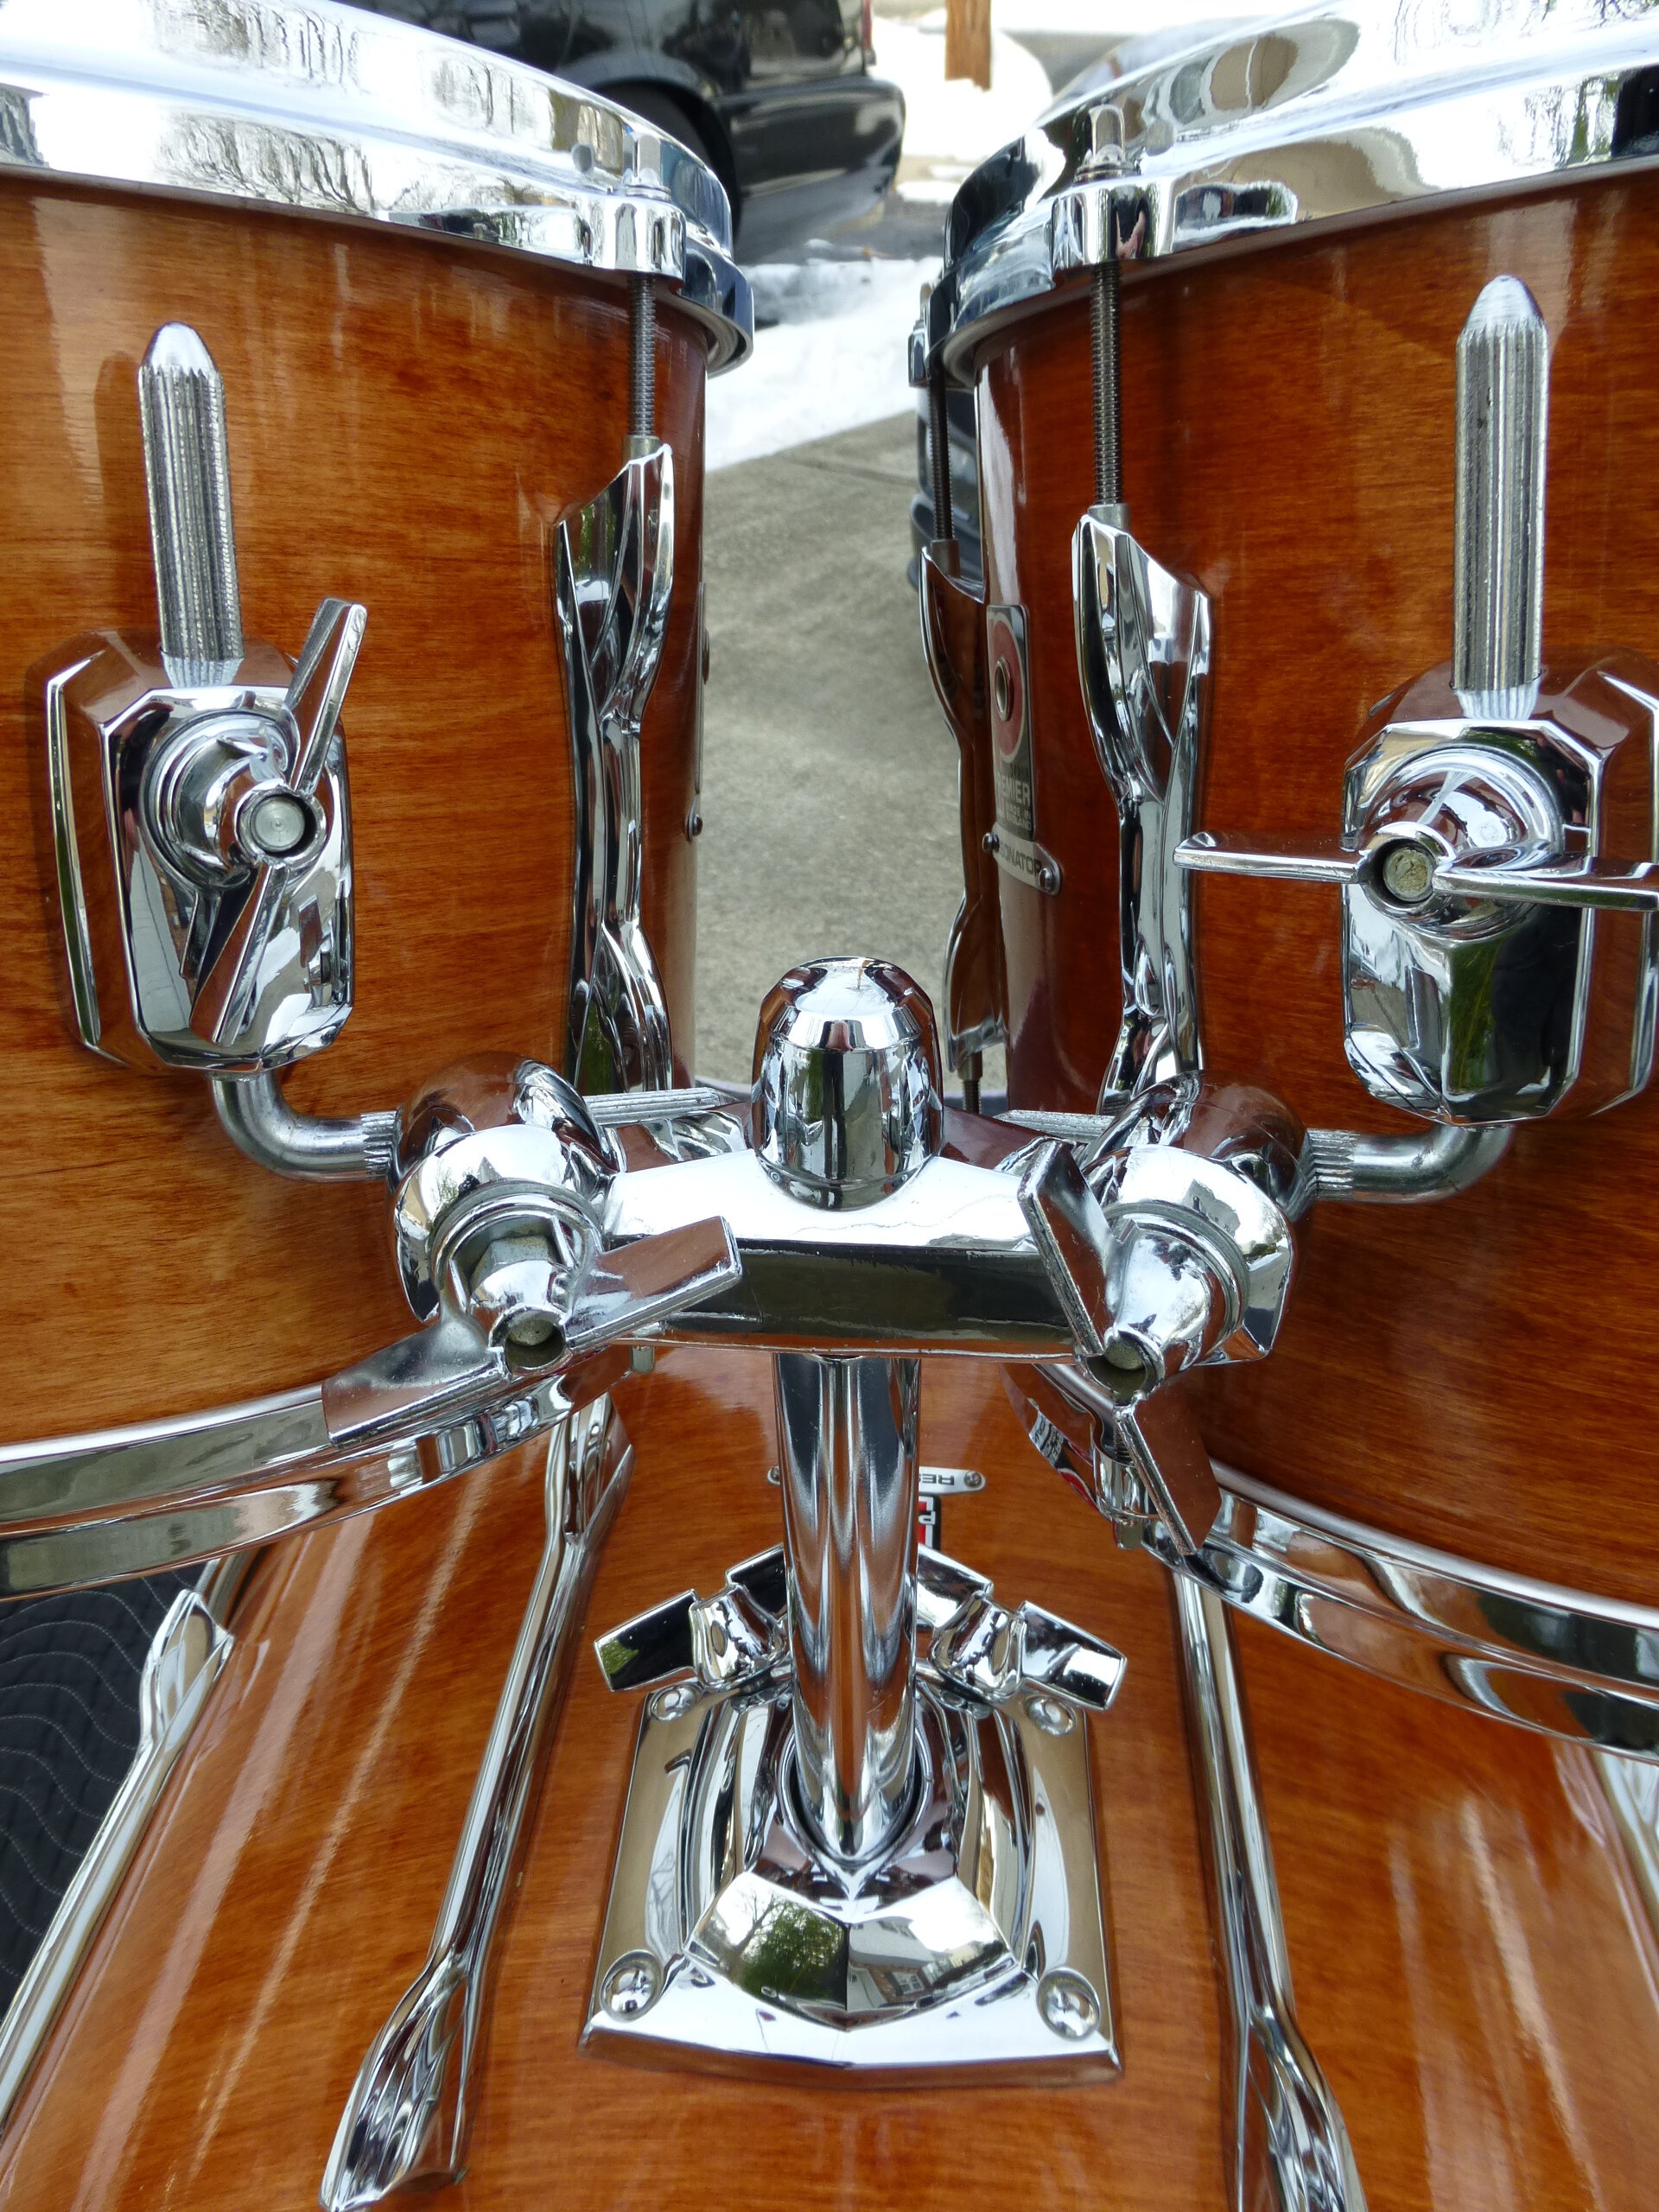
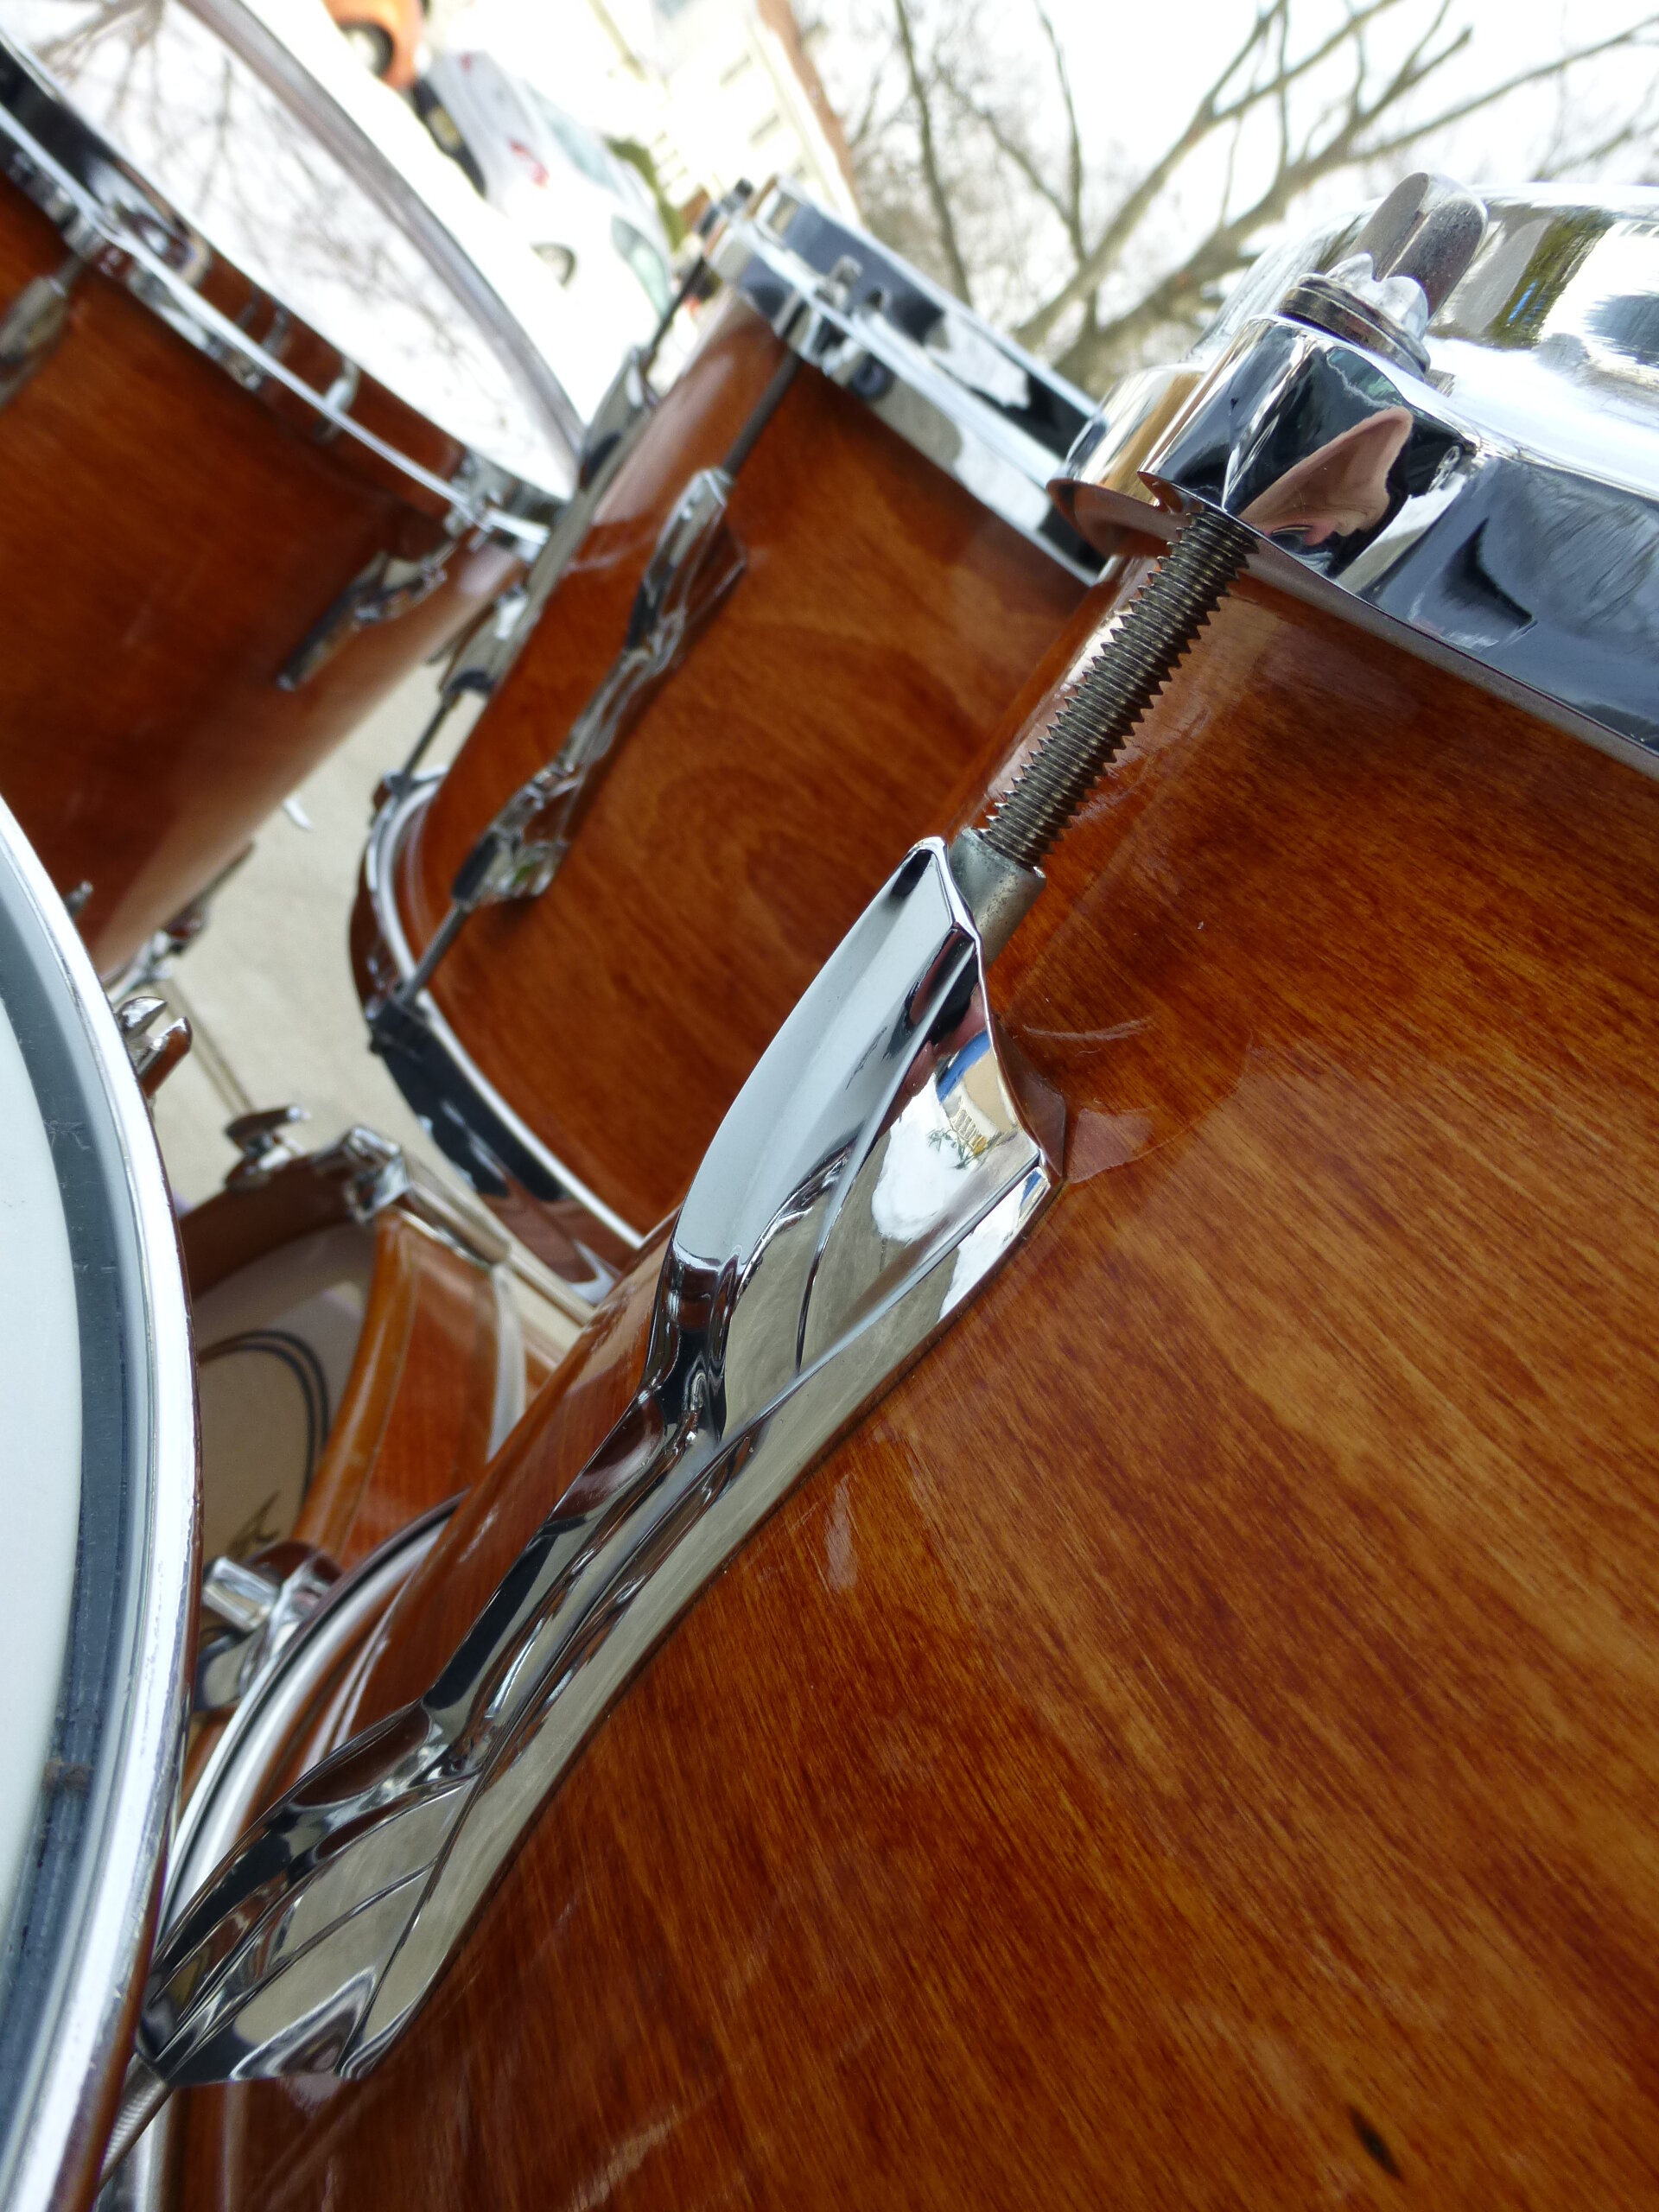
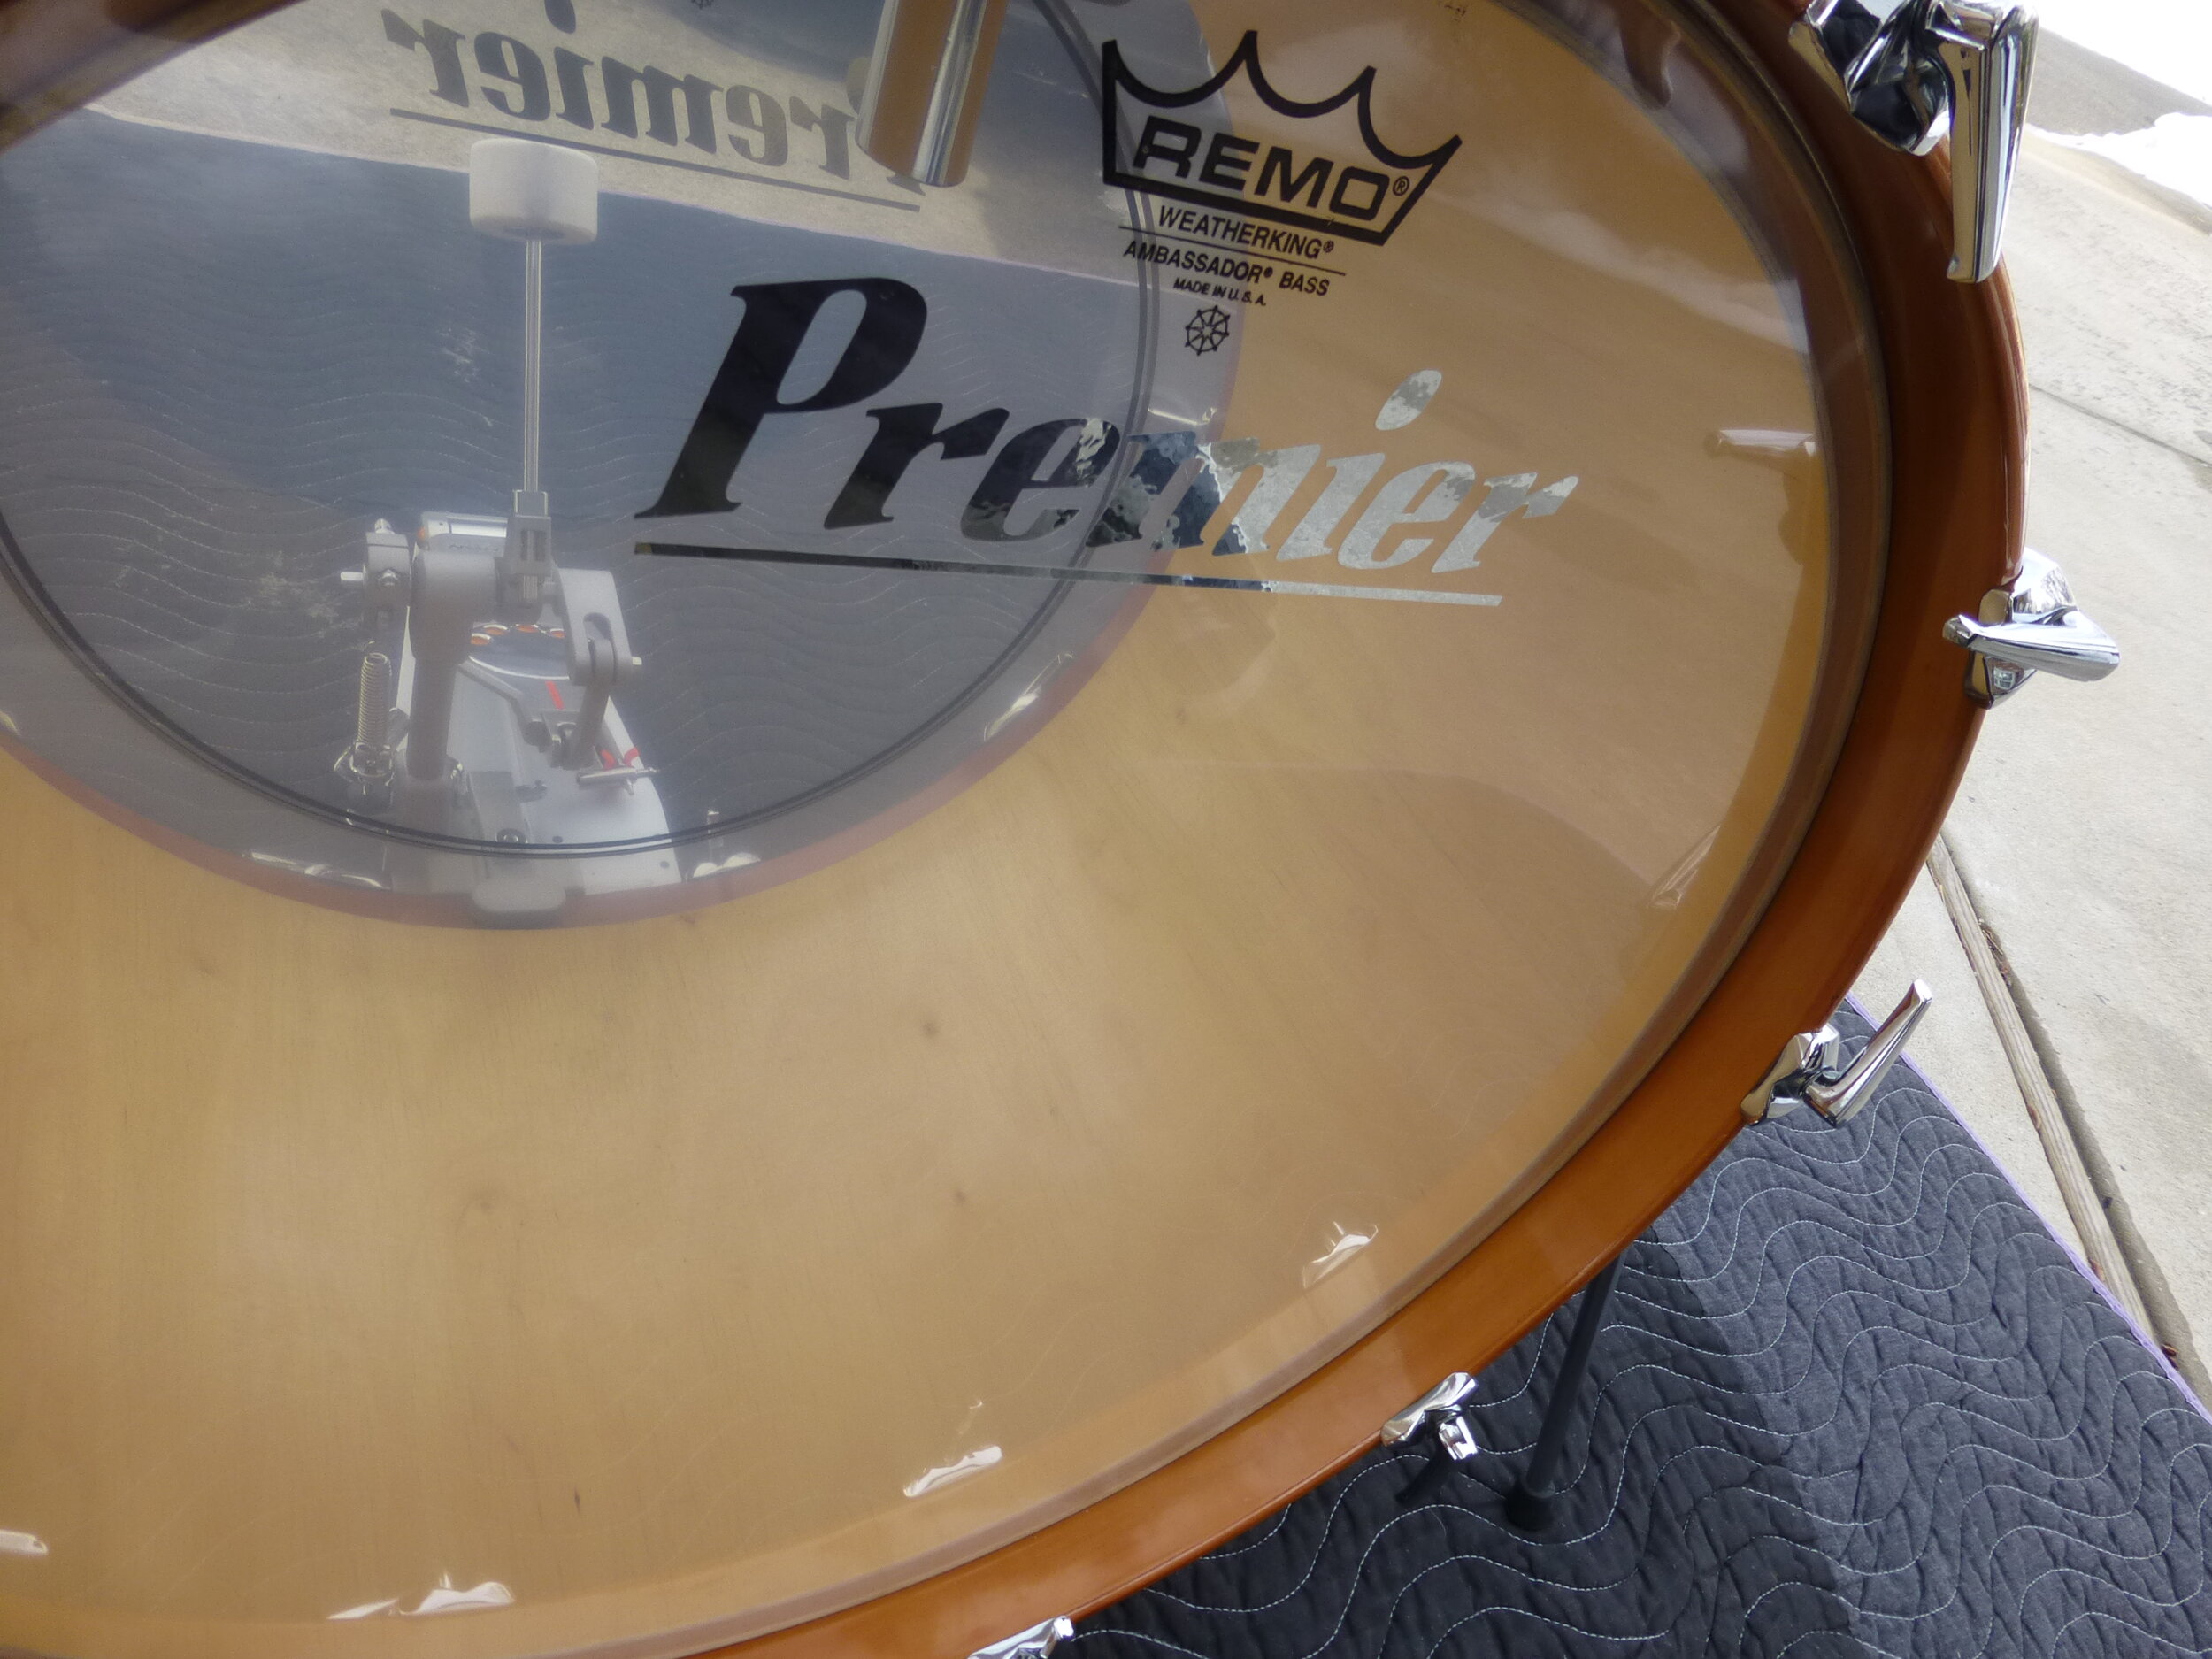
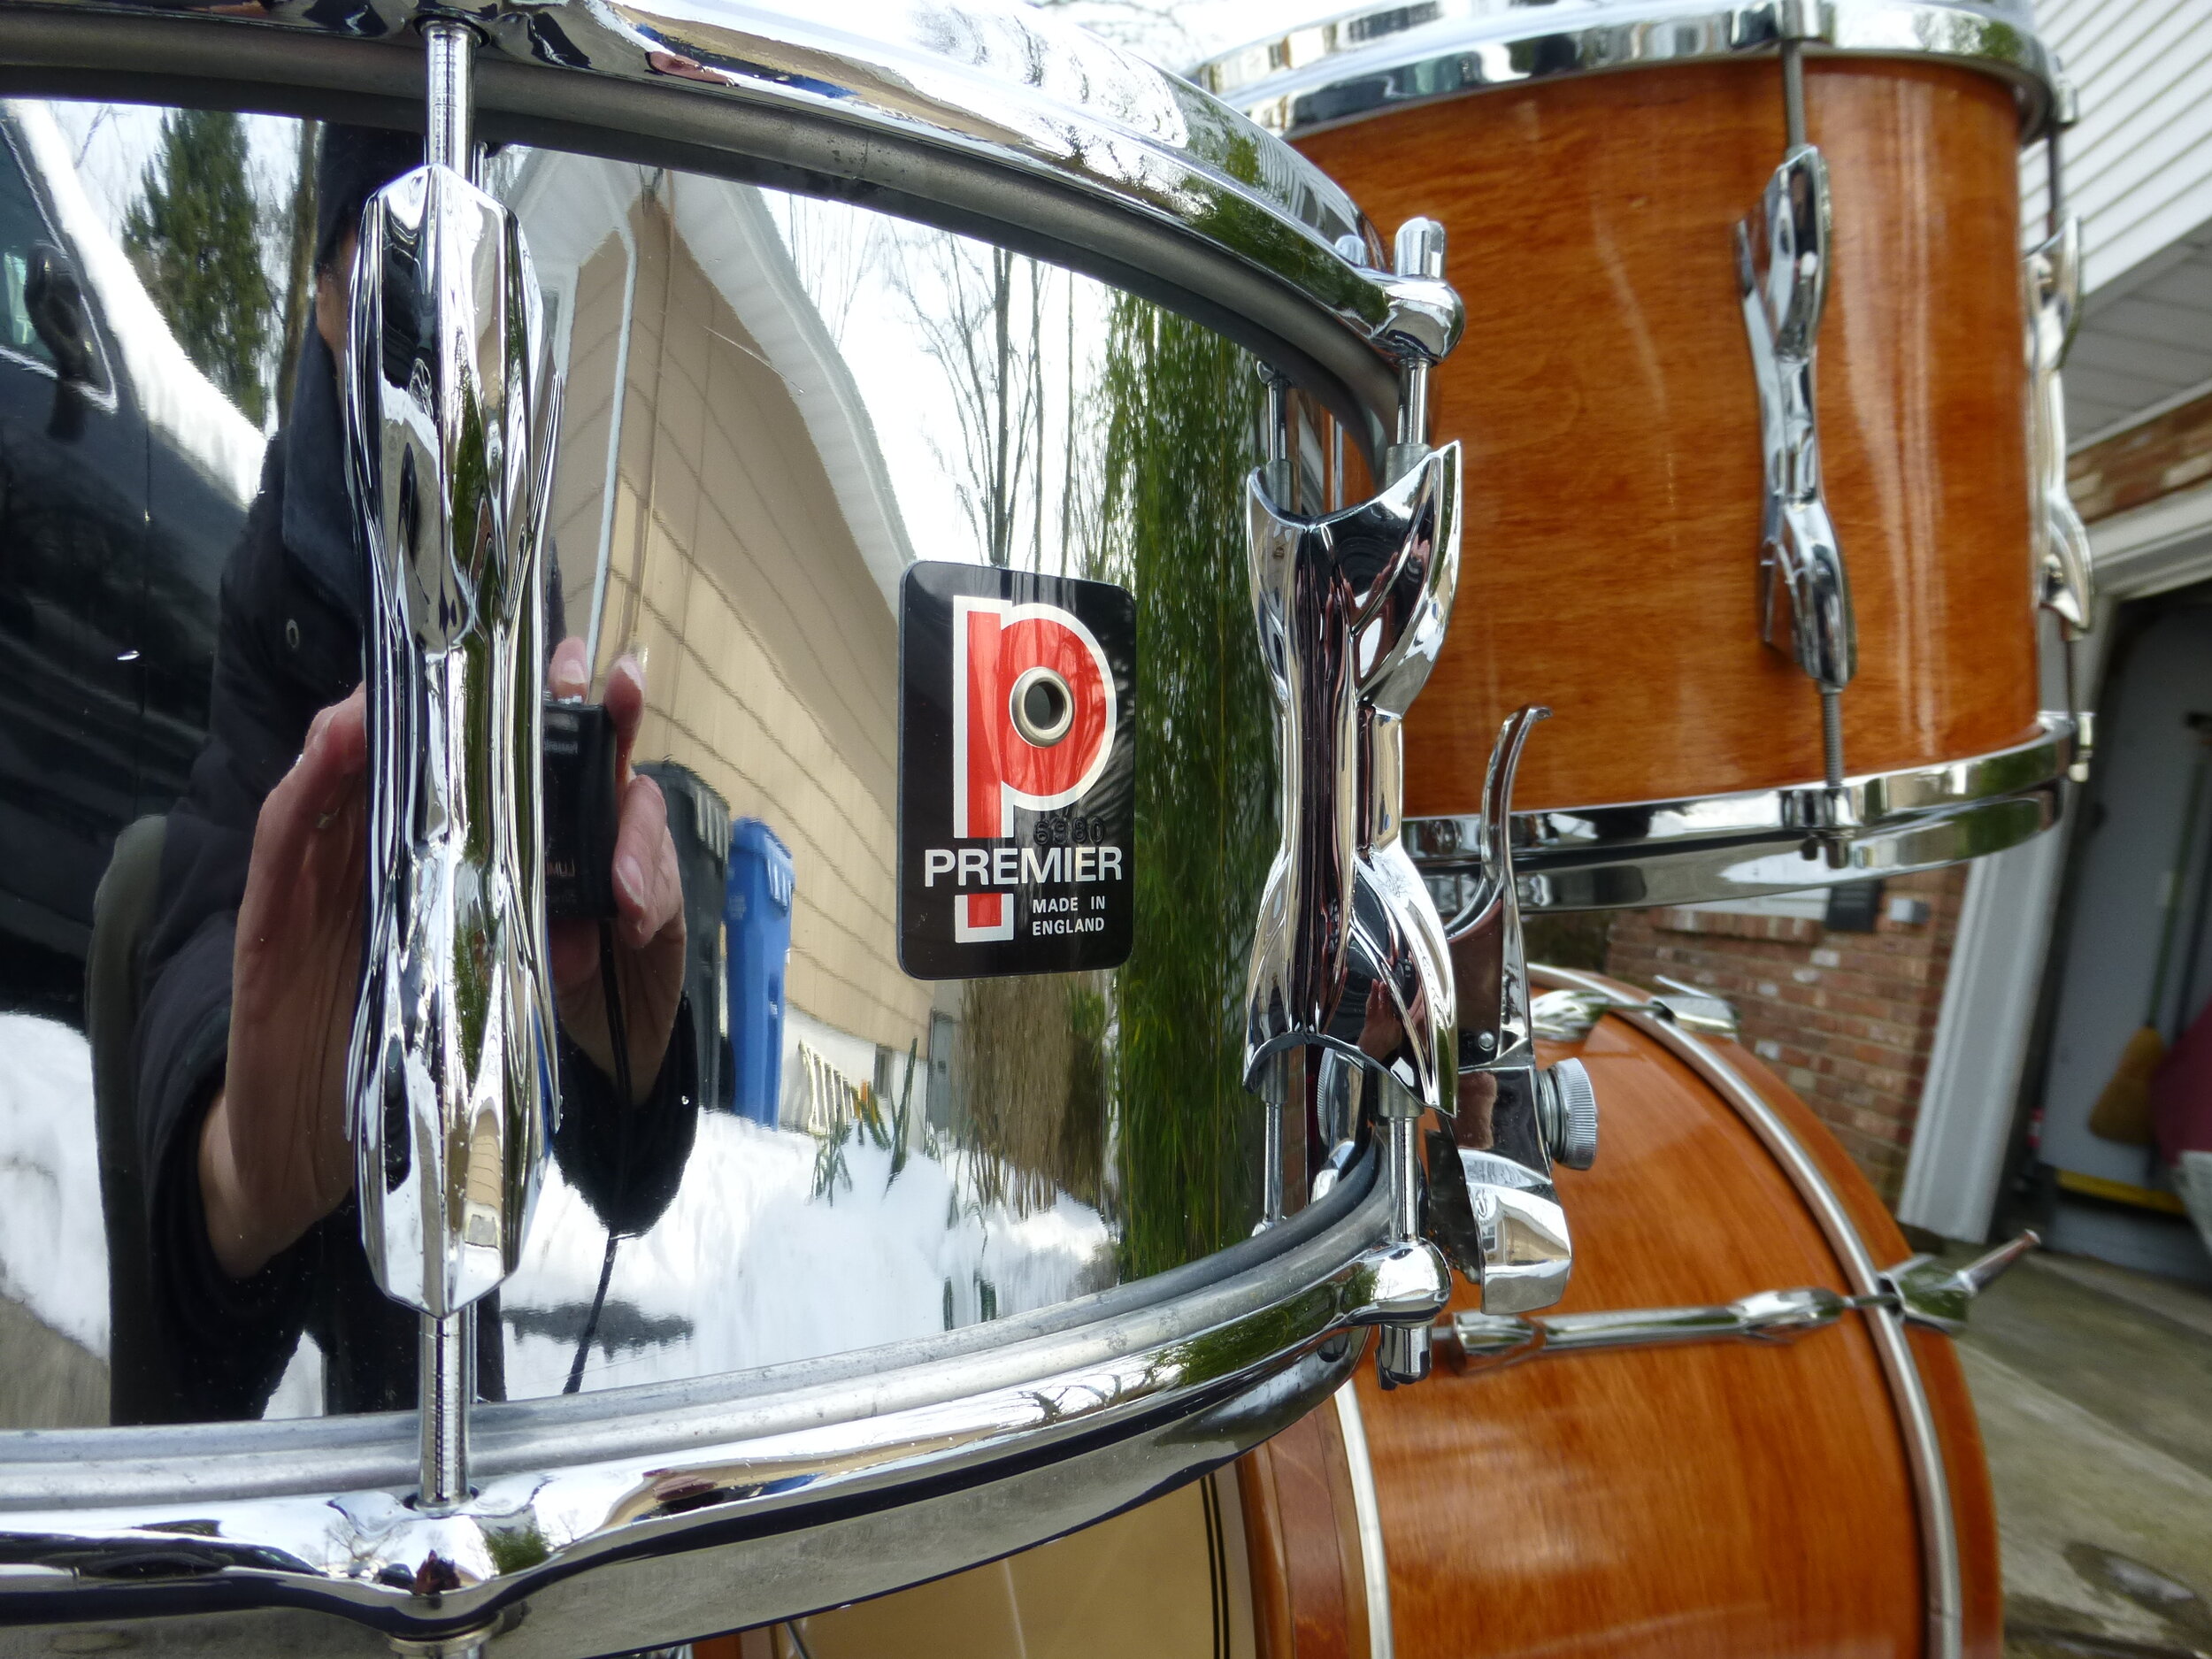
I had a blast acquiring the set, tracking down and sourcing the parts, repairing, cleaning, assembling, tuning, and bringing the set back to life.
Read moreFrom Basket Case to Beautiful
1929 Lavender Pearl Slingerland Artist Model
Restoring vintage drums can be challenging and reversing decades of use and abuse sometimes proves nearly impossible. I’d like to tell the story of a recent restoration I performed that nearly ended in disaster. In 2012, I purchased a 1920’s Slingerland Artist Model snare drum that was in terrible condition. The drum was missing many hard to find parts and the shell had been painted over with multiple coats of thick black paint, even over the badge! Since the drum did have several valuable parts, I was planning to use the drum as a “donor” for other Slingerland projects. Due to the condition of the drum shell, I even considered disposing of it, once the remaining parts and badge were removed. Before doing anything drastic, I decided to apply a small amount of paint remover in order to see if there was a pearl finish under all that paint. After a few minutes, I wiped away the paint remover and a bit of color began to appear. Assuming that the finish was probably just common white marine pearl that had faded to yellow, I did not feel it was worth the trouble to attempt to completely remove the paint.
But out of curiosity, I continued to wipe away the layers of black, sticky paint and I realized that the exposed finish had a decidedly “pink” color to it. Pink? That could only mean one thing…..Lavender Pearl!
Lavender Pearl is one of Slingerland’s most rare finishes. First introduced in 1929, this beautiful Pyralin (pearl) finish was only offered for about two years. Realizing that I had a potentially very special snare drum in front of me, I began to proceed with caution by applying a citrus based paint stripper to small areas at a time. The black paint was very stubborn and required several applications just to break through to the lavender. It became a case of “Catch 22” in that a lot of chemical stripper was required to remove the paint, but that also exposed the lavender pearl to its caustic affects. Nitro-Cellulose based Pyralin is somewhat fragile and can melt if exposed to strong solvents for more than a few minutes. At times, the pearl did became very soft and dull and I was beginning to think this was a hopeless case. The more paint I removed, the worse it looked. More than once I nearly catapulted the drum out the window. However, since there were no windows close by, I persevered. After nearly twenty applications of the paint remover, most of the black paint was gone. Unfortunately, the once gorgeous Lavender Pearl had turned to a lumpy, ugly, pink mess.
Failure! After several days of a very messy, frustrating, paint-covered operation, I was beginning to think that this drum would indeed end up being a “parts donor”. This once magnificent looking, eighty-five year old Lavender Pearl snare drum now looked absolutely horrible. Since I had nothing to lose, I began experimenting with “wet sanding”, a technique used primarily on automotive paint. Normally, I would not attempt to sand a drum’s finish but drastic measures were needed. My plan was to start with a relatively coarse 600 grit sandpaper, gradually working my way up to 1500. To my surprise, the sandpaper was smoothing out the very rough looking pearl, giving it a much more uniform appearance. After sanding, an automotive rubbing compound was applied, followed by a polishing compound which brought the finish up to a very nice luster. There were still a few black paint remnants that stubbornly refused to come off, but given the condition of the drum when I started, the difference was remarkable. This was starting to look like a drum!
With the finish looking its best, I turned to the task of finding and installing the correct hardware. This 1929 Artist Model snare drum originally was equipped with imitation gold hardware known as “Artgold”. But because the remaining parts were in such poor condition, I decided to use Artgold parts that I already had in my collection. The golden toned hardware really contrasts nicely with the Lavender Pearl.
The last step of this restoration was the installation of the Tone Flange, calf heads, and heavy brass double flanged hoops. The Tone Flange is a round metal device that resembles a hubcap. It rests on a metal ring and several flat wood screws, which are screwed into the top bearing edge. Slingerland’s Tone Flange was first introduced in 1928 and was supposed to improve tonal quality by reducing overtones and increasing projection. Special oversize calf heads are required to fit over the flange. Whether or not the Tone Flanges improved the sound of Slingerland’s snare drums is open to debate but by the mid 1930’s, very few Tone Flange drums were being produced. They were however, still listed as an option in the 1936 Slingerland catalog.
The Slingerland Lavender Pearl Artist Model snare drum was definitely the most difficult, frustrating and challenging drum restoration I have ever undertaken. However, I am delighted with the results and feel great satisfaction in knowing that a nearly discarded relic from the past was saved. So the next time you encounter an old drum whose finish has been painted over, it might be a good idea to look closely. You never know what’s hiding under that paint!


